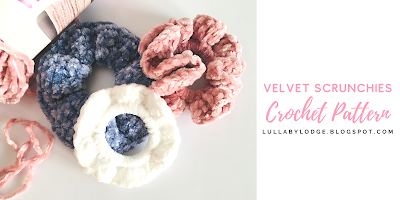


Timeless Drifter Earwarmer
Materials
6mm (J) hook
5mm (H) hook
5mm (H) hook
Size
Adult (sizes baby - large adult are available in the pdf version)
Ability
Intermediate
Abbreviations US Terms (UK conversion)
sc - single crochet (double crochet)
blsc – back loop single crochet (back loop double crochet)
dc – double crochet (treble crochet)
hdc – half double crochet (half treble crochet) fpdc – front post double
crochet (front post treble crochet)
ch - chain
st(s) - stitch(es)
pm – place marker
sk – skip
inc
– increase (2sc in same st)
Other notes: The head
band is worked flat and seemed to form the twist. Ribbing is then added to the bottom of
headband, worked sideways, creating the finished ear warmer.
With Drifter and large hook, chain 61
Row 1 (Right side) sc in 2nd ch from
hook and in every ch. 60 sts.
Row 2 Turn ch1 (does not count as st), hdc in 1st
st, fpdc in each st across until last st, hdc in last st. 60 sts.
Row 3 Turn, ch1, sc in 1st st, sc in
each st across.
Repeat rows 2 and 3, 4 more times. Fasten off leaving a long tail.

Forming the twist
Place piece with right side facing up, in front of you. Fold short ends in to the centre.

Fold each short end in half and slot
together.

Sew through all 4 layers
securely

Pm where 2 sides cross over on bottom of headband (through both
layers).

Using Timeless join yarn in centre back, bottom of headband.
Round 1 Ch1, sc in same place, sc in each st around
until 2 sts before marker, sk next st, [dc, 3hdc, dc] all in marked st, sk next
st, sc in each remaining st, at the same time inc evenly around until
you have 66 sts, join.

Ribbing
With small hook ch 9
Row 1 Sc in 2nd ch from hook and in
every ch, sl st in next 2 sts on hairband.
Row 2 Turn, sk sl sts, blsc in each sc across.
Row 3 Turn, ch1, blsc in each sc across, sl st in
next 2 sts on hairband.
Repeat
rows 2 and 3 around hairband until all sts have been worked, fasten off and use
tail to sew ribbing together. Weave in
any ends.

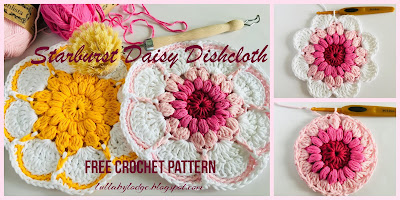
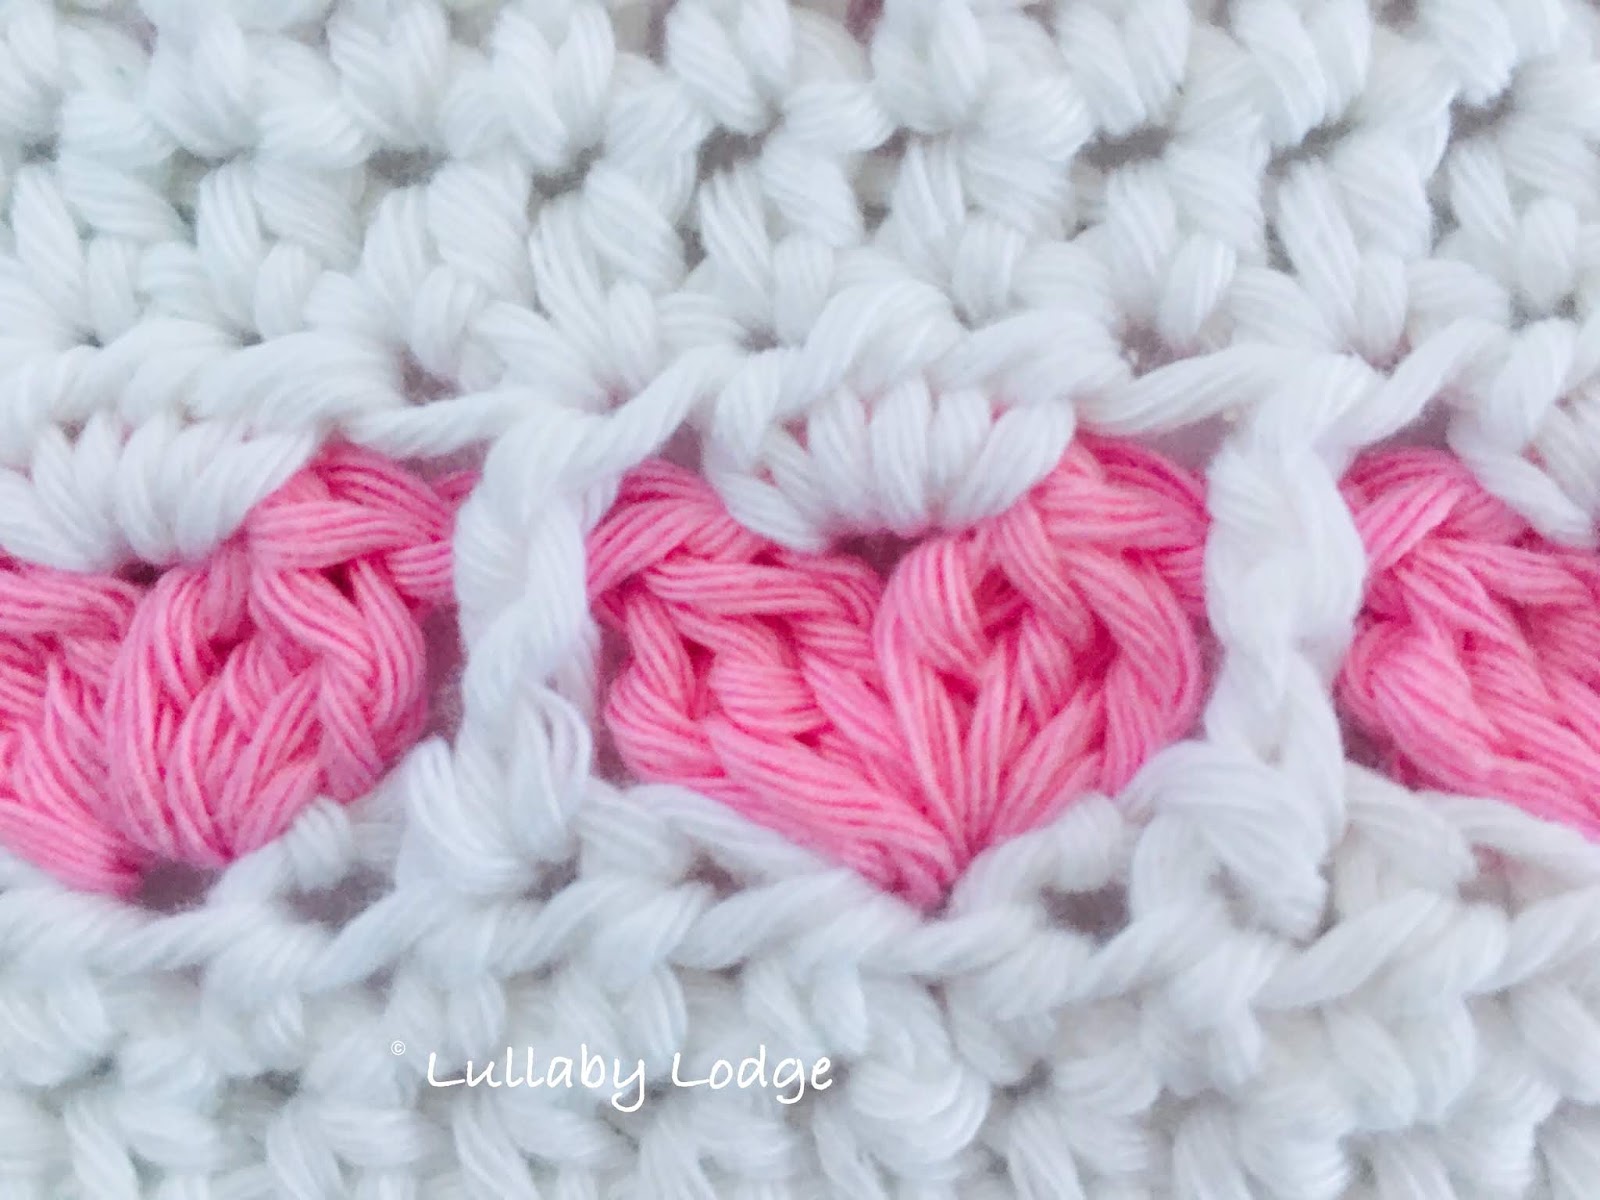
Looks great in different colours...

Pin it for later...

I hope you enjoyed this pattern and be sure to subscribe if you did, I post every week with free patterns, reviews and more...
See you soon
Catherine
x
If you love the content here at Lullaby Lodge and would like to see more, why not consider joining my premium subscription service and become a patron...

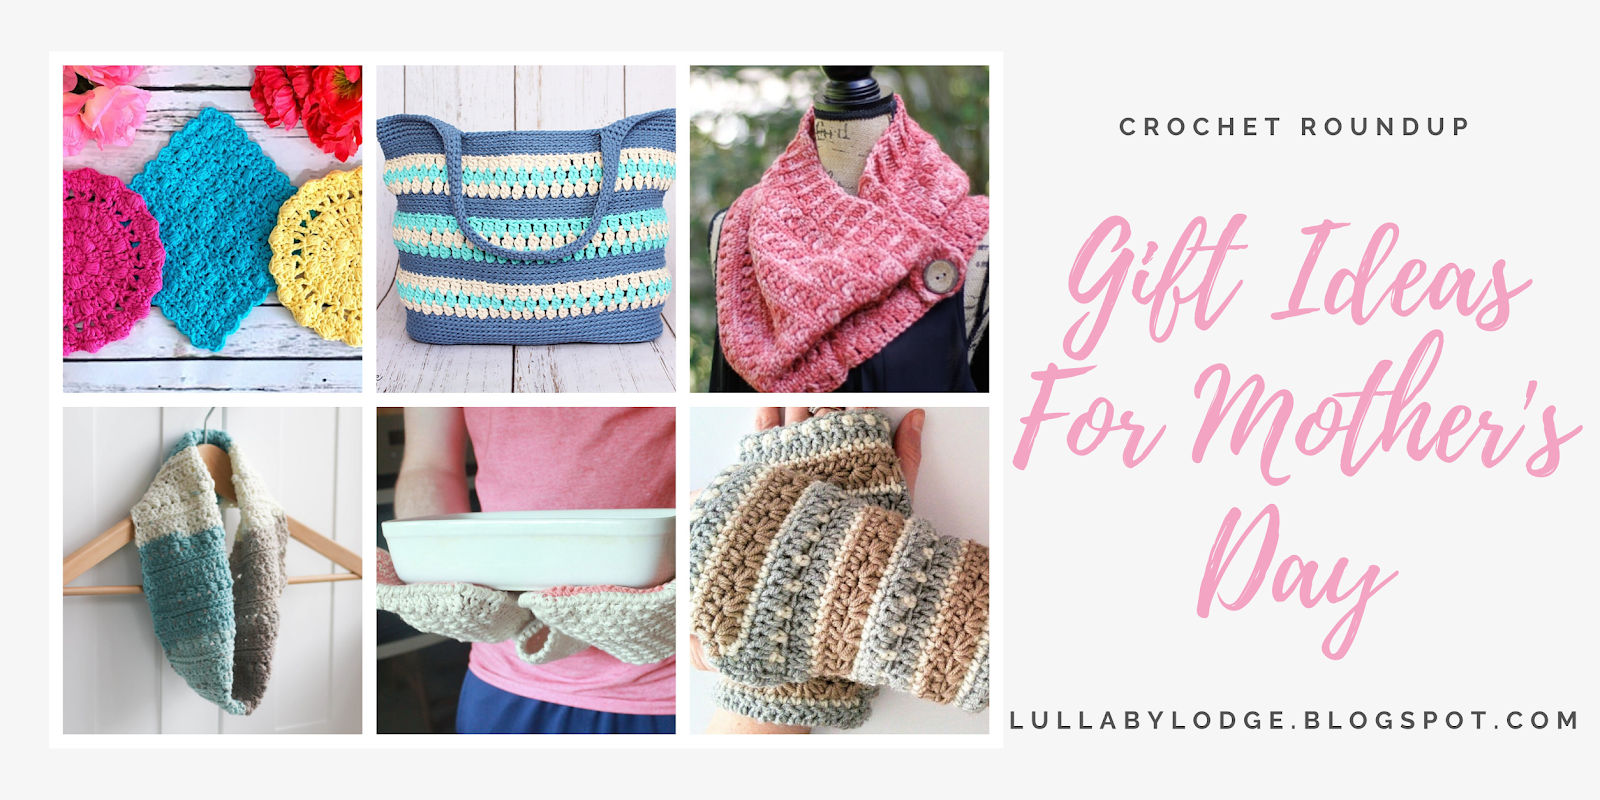
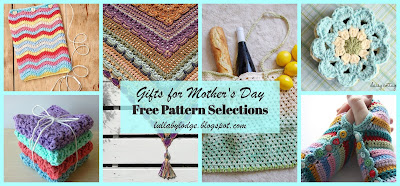
You might also like...