Saturday 29 February 2020

Basic Beanies - Free crochet pattern, part of the 2020 Charity Stash Bash CAL

Hello everyone, it's time for our second installment of our Charity Stash Bash CAL.  If you are knew to my blog then you might like to check out the link below, which will give you all the details.

This month we will be making beanies.  Hats are always a sought after item in the shoe boxes every year and are another quick and easy make, great for stash busting.  I have designed this pattern to be a base for your own creativity.

The hats are very basic giving you plenty of scope to adapt and embellish the pattern to make it unique.  You can easily add stripes, pom poms, tassels or stitch on a cute flower or applique.


The pdf for this pattern is available free for Crochet for a Cause for 1 week only, from 15th June 2020


Helpful Links...


An ad free pdf version of this pattern is available in my online stores, thank you for supporting my work...


If you would like to take part and prefer knit over crochet, I have linked some other pattern choices along with more crochet hats for you to make.  Just click the Stash Bash link above for more patterns and information. 
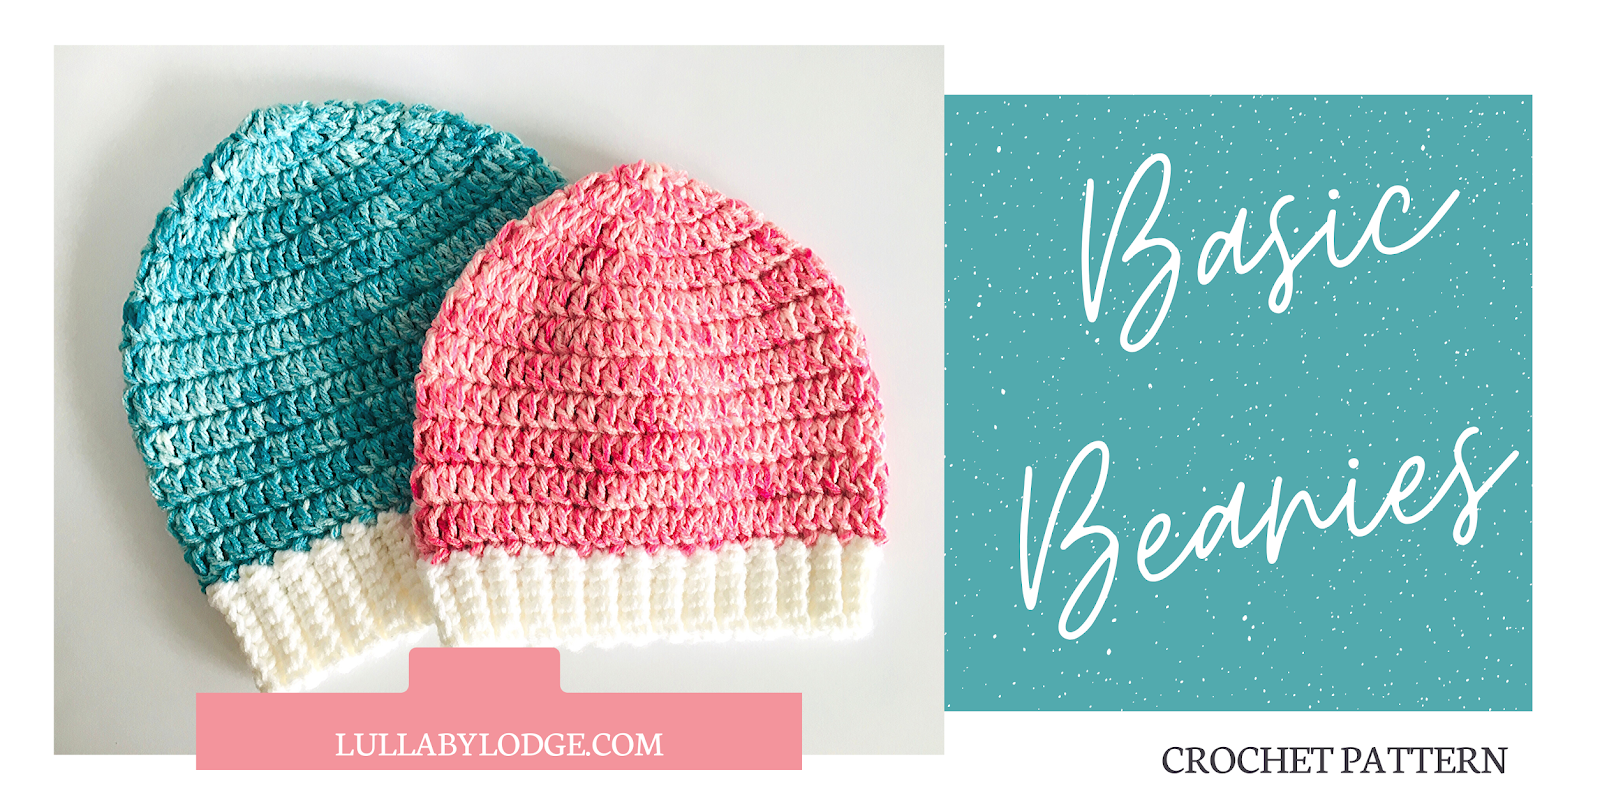

Basic Beanies


Materials


Aran / worsted yarn (less than 100g for each size)
5mm & 4.5mm hooks
Darning needle


Size


Newborn [3 months, 6 months, 12 months, toddler, child, teen, adult, adult large]


Ability


Beginner / intermediate


Abbreviations US Terms (UK conversion)


sc - single crochet (double crochet)
dc – double crochet (treble crochet)
ch – chain
st(s) - stitch(es)
bl – back loop


Gauge

15 sts to 10cm (4 inches) and 7 rows


Sizing:

Inches (cm)
Newborn
3 months
6 months
12 months
Toddler
Child
Teen
Adult
Adult large
Circumference

12 (31)
14 (36)
15 (38)
16 (41)
18 (46)
19 (49)
20 (51)
21 (54)
22 (56)
Crown to bottom of ear
5 (13)
5 ½ (14)
6 (15)
6 ½ (17)
7 ½ (19)
8 (20)
9 (23)
10 (25)
11 (28)


Other notes:  Hat is worked in rounds starting from the crown.  Ribbing may be added and is worked sideways, joining onto the main body of hat as you go.  Beginners may wish to forego the ribbing to make the pattern beginner friendly.  

This hat pattern is designed to give you a blank canvas to work from, enabling you to and adapt and embellish as you wish.  Change colours to add stripes or add flowers and appliques to make a truly unique hat.


Increasing:  Increases are made by working 2 stitches into the same stitch.  An easy way to remember how to increase evenly around is as follows –

Round 2, make 1 increase in every st.  Round 3, inc in the 1st of every 2 sts.  Round 4, inc in the 1st of every 3 sts.  Round 5, inc in the 1st of every 4 sts and so on for as many increases as your required size states.  


Hat crown shaping


With 5mm hook chain 3 and join with sl st to form ring.


Round 1 Ch3 (counts as dc), 9dc into ring, join with sl st to top ch3.  (10dc)


Round 2 Ch3, dc in same st, 2dc in every st around, join with sl st to top ch3.  (20dc)


Round 3 Ch3, dc in same st, [dc in next st, 2dc in next st] repeat around, dc in last st, join with sl st to top ch3.  (30dc)


Continue in the same way increasing 10 sts evenly each round for 0 [1, 1, 2, 2, 3, 3, 4, 4] more rounds.


Newborn, 6 months, toddler, teen, large sizes only


Continue in the same way for 1 more round, increasing 5sts evenly.  You will need to increase in the 1st of every 6 [_, 8, _, 10, _, 12, _, 14] sts.


You should now have – 35 [40, 45, 50, 55, 60, 65, 70, 75] sts


Hat body


Round 1 Ch3, dc in each st around, join with sl st to top ch3.


Repeat round 1 a further 2[3,4,5,6,7,8,9,10] times.


If you are a beginner or would like a more basic hat and don’t want to add the ribbing, add more rounds of dc here until you reach required length.


Ribbing


With 4.5mm hook, join new yarn with sl st and Ch5 [5, 5, 6, 6, 7, 7, 8, 8]


Row 1 Sc in 2nd ch from hook and each ch across, sl st into next 2sts on brim of hat, turn.


Row 2 Working in bl only, sc in each st across, turn.


Row 3 Ch1, in bl only, sc in each st, sl st into next 2 sts on brim of hat, turn.


Repeat rows 2 and 3 until you have worked around the entire brim of hat.  Turn hat inside out and sl st a seam to join ribbing.  Fasten off and weave in ends.


Pin it for later...


I hope you enjoy the pattern, there are so many charities out there that need hats, I am sure you will find one that is dear to your heart.  If you are joining in with the CAL, don't forget to share your photos with the Facebook group or use #lullabylodge.

If you are new to Lullaby Lodge be sure to subscribe to keep updated on new posts.

See you all again soon...

Catherine

x


You might also like...


Wednesday 26 February 2020

Crochet Along With Me - February

Hello Friends, it's almost the end of February and so it's time to take a little look at what's been happening this month.  Our crochet alongs are progressing, we have 2 running throughout the year.  The Hot & Cold Blanket CAL and the 2020 Charity Stash Bash CAL.  You can find out more details about these in the links below and check out everyone's progress over at the Facebook group.


Useful links...


Crochet Along With Me... (February edition)


Firstly let's take a look at my temperature blanket progress.  The blanket is starting to grow now, the temperature is still mostly quite mild, with only a few rounds of blue.  I wonder if we will start to see some more warmer colours being added soon.  Is spring on the way or will we have a snap cold spell, who knows?  That's the fun of making a temperature blanket and I'm really loving how it is turning out...


At the beginning of the month I hosted one of the weekly crochet alongs, at Our Happy CAL Place.  Which is a lovely crochet along group on Ravelry.  They have weekly and monthly CAL's and I really recommend you take a look.  The group is very friendly and they always welcome new members.  The theme for my chosen weeks was "quick & easy" and as we had Valentine's Day coming up I chose the Sweetheart Boot Cuffs pattern by Maria Bittner.

My Sweetheart Boot Cuffs...


The boot cuffs crocheted up really fast and they would make a lovely quick and easy gift.  The pattern was easy to understand, although I found the sizing came up a little small and if I made them again I would go for a larger size.  Why not check out what everyone is making at Our Happy CAL Place this week?  

There has been lots of washcloth making this month at Lullaby Lodge and these will all be going towards the Operation Christmas Child appeal.  To find out more about our Charity Stash Bash CAL check out the link above.  If you enjoy making dish and washcloths, there are lots of groups out there.  I belong to two groups, one on Ravelry and the other on Facebook, I have linked both groups above.  Here are the cloths I made this month...


We had the Sweetheart Washcloth and the Sea Shells washcloth patterns both come out this month, these will be added to my pile of cloths ready to donate to the shoe box appeal.  I like to add little gift wrappers to my cloths so they are ready for gifting and I have a selection of printable gift labels available to buy in my Etsy Store...


I also finished this Virus Shawl.  I started working on it more than two years ago and I finally dug it out of hibernation and finished it.  It only needed one last row, I don't know why I forgot about it for so long.  I used four different shades of Drops Fabel sock yarn to make this shawl with a 4mm hook.  I love the gorgeous colours you get in sock yarns.   I used this video by Jonna Martinez...


Can't wait to wear it...


Pin it for later...


Thanks for visiting and be sure to subscribe, we have the next instalment of our Charity Stash Bash CAL coming up very soon and you won't want to miss it.

Happy hooking!
Catherine
x


Related posts...


Sunday 23 February 2020

Granny Boot Cuffs - Make your Mum something fabulous this Mother's Day, Mini Mother's Day Series Part 1

Hello friends.  I wanted to design something quick and easy, that would make a great Mother's Day gift and after making a pair of boot cuffs as part of a weekly CAL on Ravelry, I thought I would have a go at designing my own.  You all know how I love a granny square and putting the two together, I came up with these super cute Granny Boot Cuffs.  Then it occured to me, "why have only one Mother's Day gift idea?", so instead we will be having a mini series of patterns coming out over the next few weeks, so make sure you are subscribed and don't miss out on any posts.


As always an ad free pdf version of this pattern is available in my online stores, thank you for helping to support my work...


Granny Boot Cuffs


Materials

Stylecraft Batik DK in 2 colours
4mm (G) & 3.5mm (E) hook (sizes XS-S, XL)
3.5mm (E) & 3mm (C) Hook (size M-L)
Darning needle

Size

XS-S, M-L, XL

Ability

Intermediate

Abbreviations US Terms (UK conversion)

sc - single crochet (double crochet)
dc – double crochet (treble crochet)
ch – chain
sp - space
st(s) - stitch(es)
sk – skip
bl – back loop
mc – main colour
cc – contrast colour

Sizing:  Measure around your calf to find your correct size (measure the widest part of your calf where you would like the cuffs to sit)Size XS-S will fit 12-13 inches (30 -36cm), M-L will fit from 13-15 inches and XL will fit from 15-16 inches (36-41cm).

Other notes:  Alternate between mc and cc each round and join in new colours with a sl st, if you wish to make in only 1 colour, sl st to corner sp when starting a new round.   Size XS-S, start with mc, sizes M-L & XL start with cc.  Ch3 at start of round counts as dc (you may replace with a standing st or chainless dc if you prefer).  The larger sized hook is used for granny squares and sc edge.  The smaller hook is used for the ribbing.  Photos shown for M-L & XL sizes, there will be no round 4 for size XS-S and you will start with mc for round 1.

Granny Square Make 8

With large hook ch4 and join with sl st to form ring.

Round 1 (Right side), Ch3, 2dc into ring, [ch2, 3dc into ring] 3 times, ch2, join with sl st to top ch3.


Round 2 Join new colour in corner sp, ch3, 2dc in same sp, ch2, 3dc in same sp, in next and every sp [3dc, ch2, 3dc], join with sl st to top ch3.


Round 3 Join new colour in corner sp, ch3, 2dc in same sp, ch2, 3dc in same sp, 3dc in each sp across sides, [3dc, ch2, 3dc] in each corner sp, join with sl st to top ch3.


Round 4 (M-L & XL only) repeat round 3.


Joining squares

With wrong sides together sew or sl st 4 squares together to form a tube.


Ribbing

Row 1 With right side facing, 3.5mm hook and mc, attach yarn at any seam with a sl st, ch15, sc in 2nd ch from hook and in each ch,  sl st to next 2 sts along bottom of granny square, turn.


Row 2 Sk both sl sts, sc in each st working in bl only, turn.


Row 3 Ch1, sc in each st working in bl only, sl st to next 2 sts along bottom of granny square, turn.

Repeat row 2 & 3 until you have worked around the entire cuff.  Do not fasten off.  Turning work inside out, sl st both edges together to join, fasten off.


With mc and large hook, join with sl st to top of cuff inline with back seam.  Ch1, sc in same place, sc in every st across, join with sl st and fasten off and weave in ends.


Make another cuff to match...


I hope you enjoyed this pattern and I will be back very soon...

Catherine
x


If you would like to see even more from Lullaby Lodge, why not consider joining my premium subscription service...


You might also like...


Wednesday 19 February 2020

Easter Crochet Ideas - Take a break from all the chocolate and hook up one of these Easter treats...

We are already approaching the end of February, can you believe it?  Where has the time gone?  Well I guess it's time to delve into patterns to make for Easter and I have some beauties to share with you by all my favourite designers.


Easter Roundup


Crochet up this cute and cuddly bunny by 3am Grace Designs.

Easter Peep Kawaii Cuddler


The kids are going to need something to put all those eggs in, so why not make them this super cute Easter basket.  Pattern by Loops & Love Crochet.

Crochet Bunny Basket


More bunnies here, this time teeny tiny amigurumi ones designed by Hooked On Patterns.

Kawaii Bunnies


Crochet up these super cute egg cosies, pattern by Thoresby Cottage.

Crochet Egg Cosy


Another Easter basket pattern, I love the spike stitches on this one.  Design by Jen Hayes Creations.

Spike Stitched Easter Baskets


Add some something cute and fluffy to your Easter decor, with this delightful cushion pattern by Crochet Cloudberry.

Fluffy Bunny Cushion Cover


This little cutie is so quick and easy to make and he will help keep your keys safe.  Pattern designed by Modesty by Laura.

Bunny Keychain


Dress up your little one in this adorable bonnet with bunny motifs.  This pretty little hat pattern is designed by Sincerely Pam.

Bunny Bonnet


Lastly we have this adorable little guy, he looks so cute in his little outfit.  This pattern and crochet along can be found at The Loopy Lamb.

Buttons The Bunny


Pin it for later...


Check out this link blast for more Easter crochet ideas...


Thanks for stopping by, I do hope you will check out some of these patterns they are all by really talented designers and I will be back soon...

Don't forget to subscribe!

Catherine
x


You might also like...