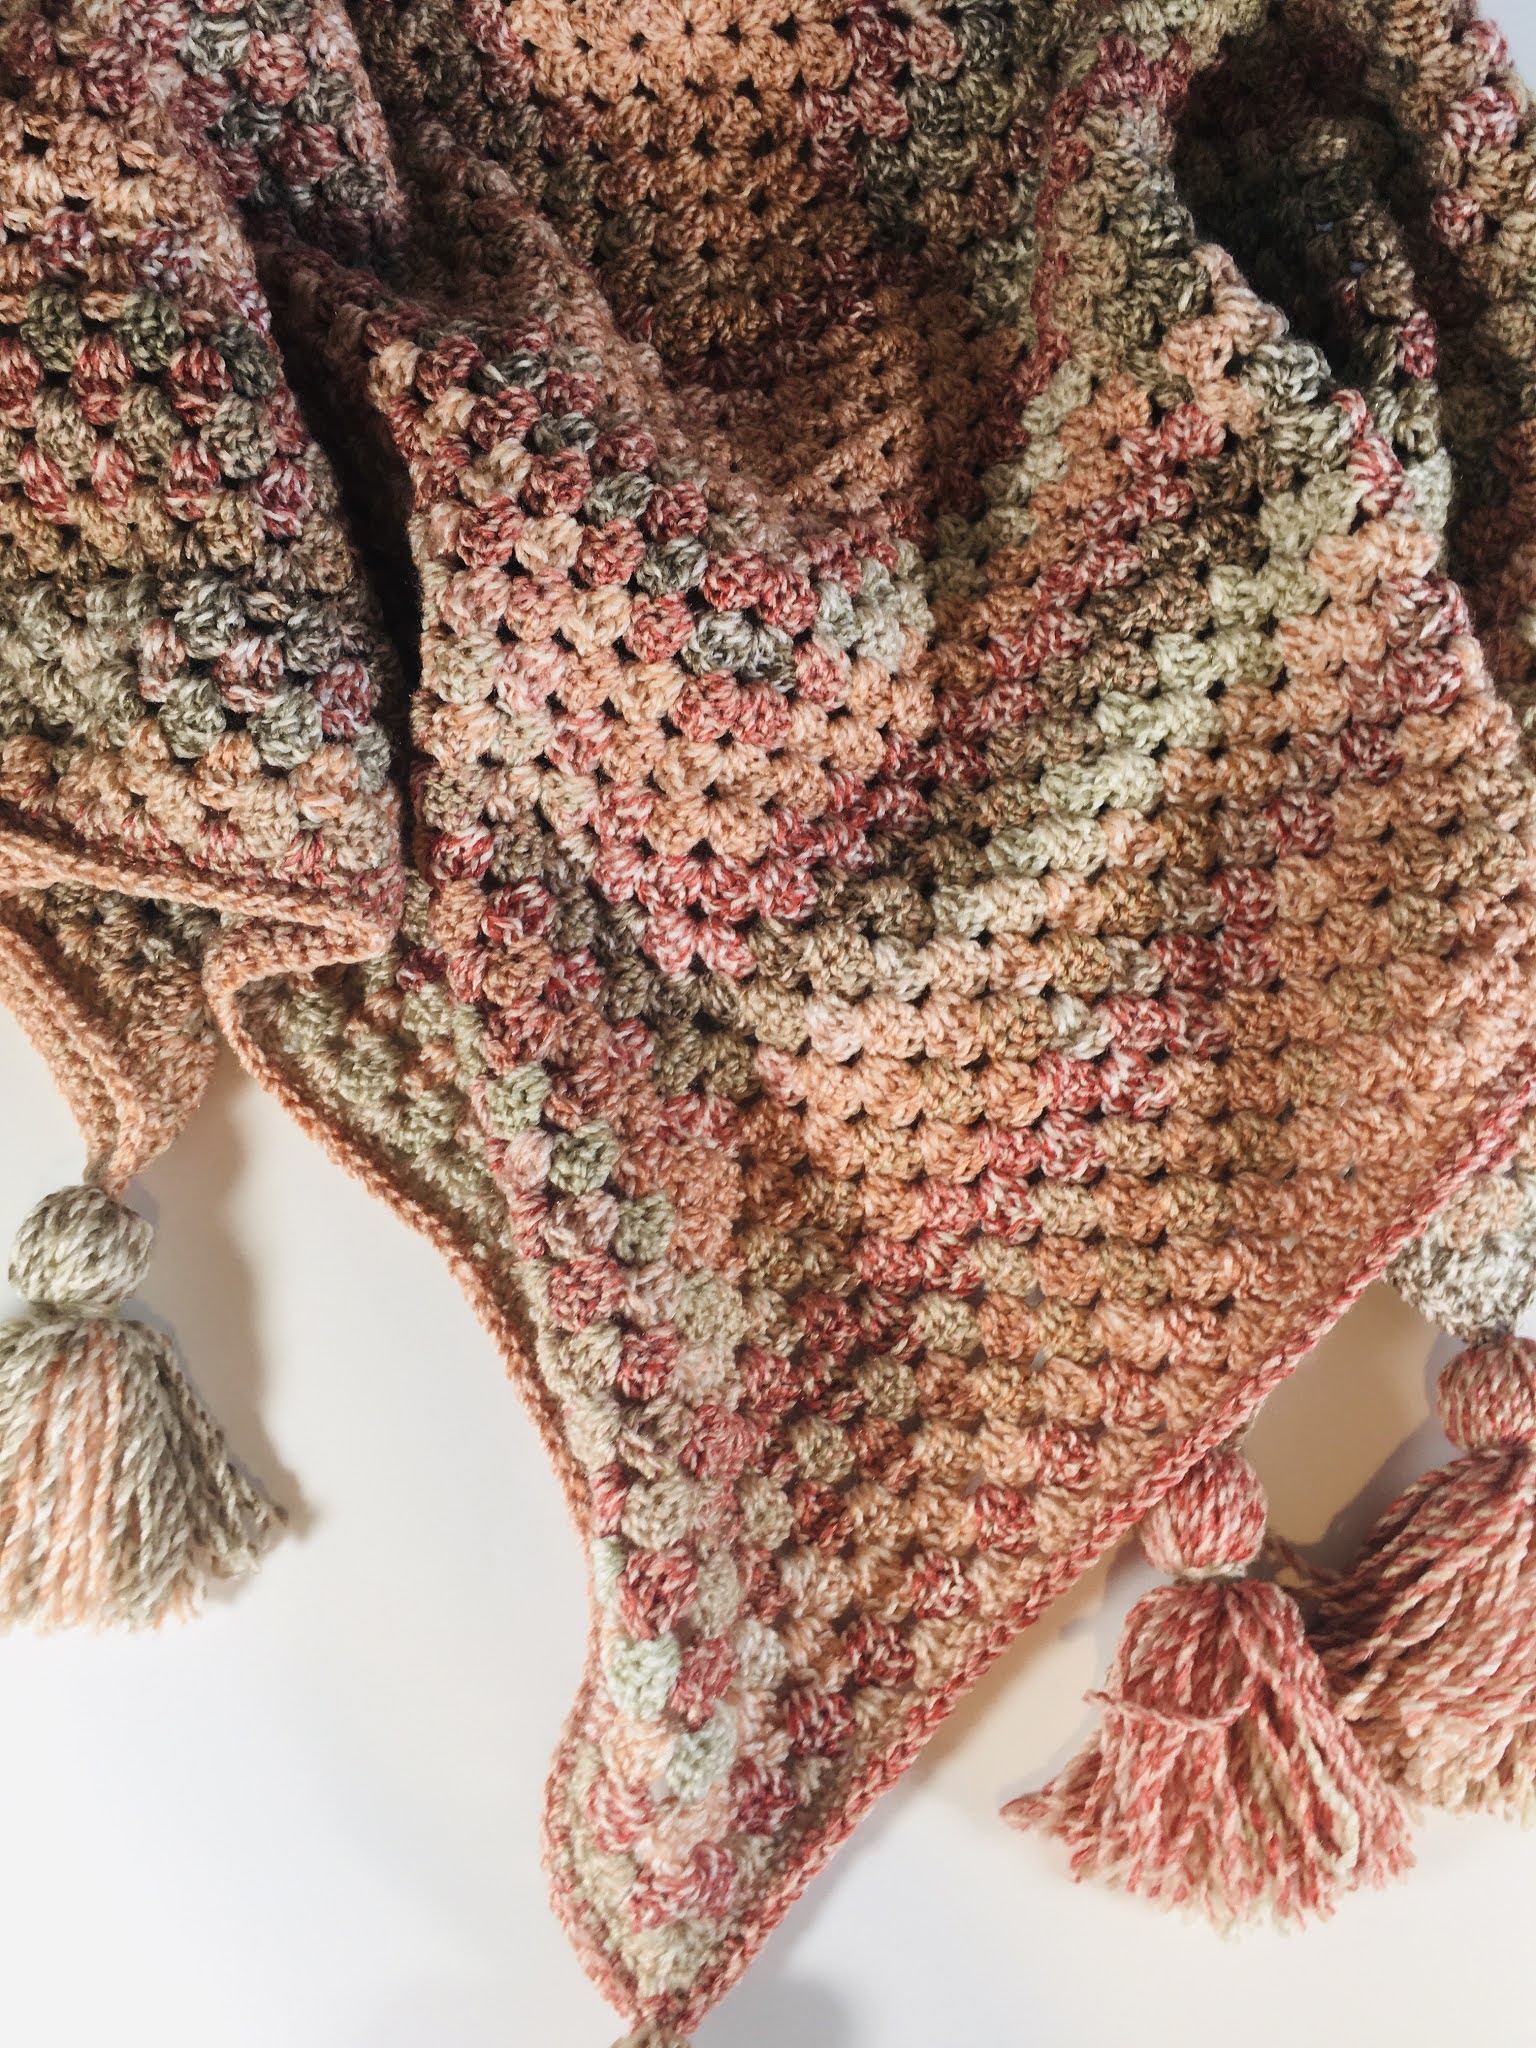
Hello friends, as you probably know I have recently started a Youtube channel and I wanted to make some videos and tutorials especially for beginners. I have disigned this crochet blanket with that in mind. It's super simple and the video shows in detail how to make each stitch and also covers how to add in a new ball of yarn, or change colours. I hope this will be a great starter project, for new crocheters that would like to make their first blanket.
I used a chunky weight yarn, which works up really fast making it ideal for beginners. For a small sized lap blanket, you could even make this in as little as a weekend. My chosen yarn also has a self patterning effect meaning you get a beautiful blanket without lots of colour changes. Meaning less ends to weave in at the end. This blanket would also look great made with yarn cakes.
Video Tutorial
As always an ad free pdf version of this pattern is available in my online stores, thank you for helping to support my work...
Weekend Wonder Blanket
Materials
3 balls James C Bett Marble Chunky (colour MC61)
6mm hook
Darning needle
Gauge
Not essential for this project
Ability
Beginner
Abbreviations US Terms (UK conversion)
Sc - single crochet (double crochet)
Dc - double crochet (treble crochet)
Sl st - slip stitch
Sp - space
Ch - chain
St - stitch
Other notes: The granny square is turned after each round, this ensures no twisting of corners as the size increases. Ch3 at the start of rounds counts as a double crochet. You may use any yarn weigh for this blanket as long as you use the hook size recomended on your yarn ball band. The blanket measures approximately 20x20 inches (100x100 cm) when made using
recommended yarn.
Thick chunky yarns will work up faster and are ideal for beginners. A small lap sized blanket may be made in as little as a weekend. It is recommended that you make your tassels before starting your blanket, to make sure you have enough yarn.
About the yarn: Marble Chunky is a super soft chunky / bulky weight yarn and comes in a huge variety of colours. Each 200g ball has 312 metres and is 100% acrylic. It may be both machine washed and tuble dried.
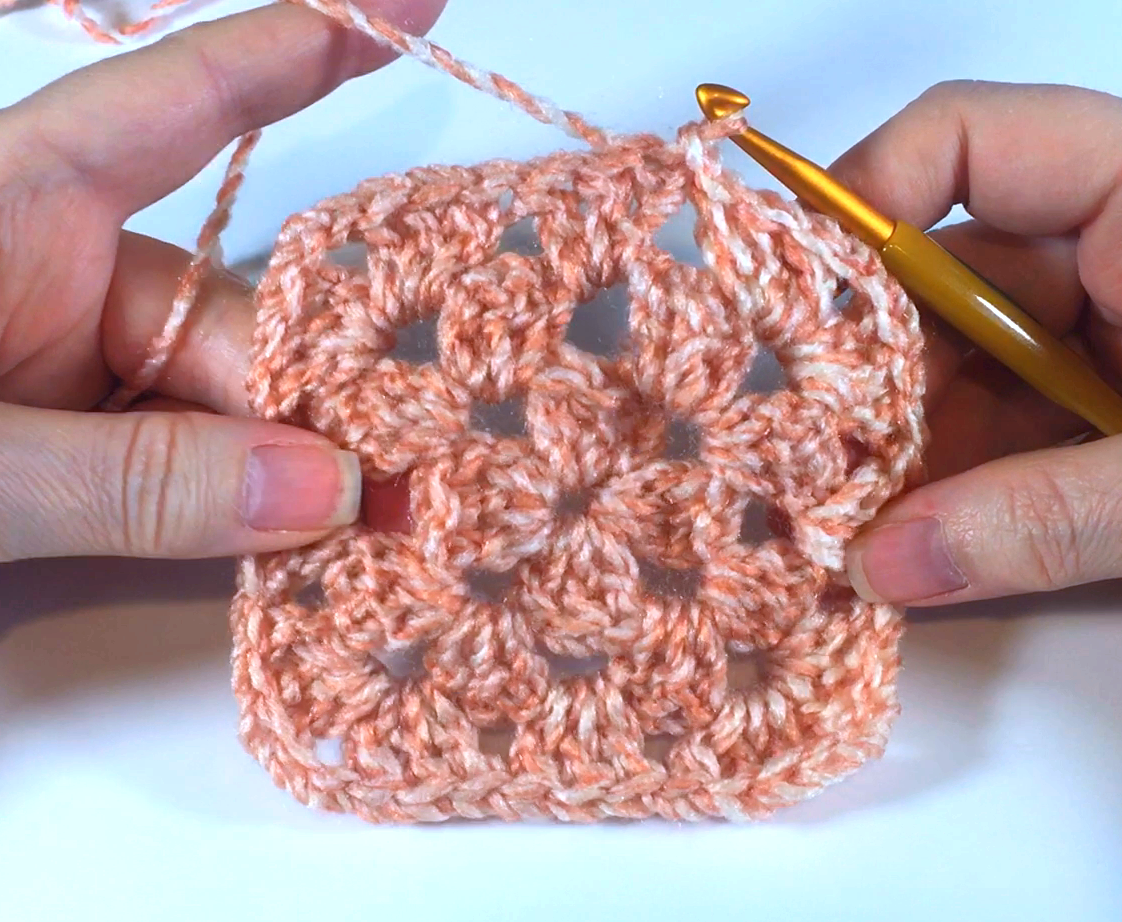
Foundation Chain 4 and join with sl st to form ring.
Round 1 Ch3, 2dc into ring, ch2, [ 3dc into the ring, ch2] 3 times, join with sl st to top ch3. Turn.
Round 2 Sl st into ch sp, ch3, 2dc into same sp, ch2, 3dc into same sp (corner formed), [ 3dc, ch2, 3dc into next sp] 3 times, join with sl st to top ch3. Turn.
Round 3 Sl st into ch sp, ch3, 2dc in same sp, [3dc, ch2, 3dc] in each corner, 3dc in each sp across side of square, join with sl st to top ch3. Turn.
Repeat round 3 until blanket is required size, do not fasten off, do not turn.
Single Crochet Border
Ch1, sc in same st, sc in each stitch around and 3sc in each corner, join with sl st to top of 1st sc. Fasten off and weave in ends.
Tassels
Using tassel tutorial make 4 tassels and attach to each corner of the blanket. I used 50 wraps with chunky yarn to make mine...
Last week I shared my Sunflowers Scarf pattern with you all and this week we have the matching beanie. Inspired by Van Gogh's famous painting, I hope this will add some sunshine to your life. Crocheted in 100% new wool, this hat will keep your head cosy even in the coldest weather.
As always an ad free pdf version of this pattern is available in my online stores, thank you for helping to support my work...
Video Tutorial
Sunflower Beanie
Materials
Drops Alaska in Dark Brown Mix (A) 1, 50g ball, Mustard (B) 1, 50g ball, Off White (C) 2, 50g balls
Other notes: US terms throughout. Drops Alaska is a 100% new wool. Each 50g ball contains
approx. 77 yds (70 m) and is hand wash only. When substituting yarn be sure to choose one with a
similar gauge. When starting the first ps, pull up a loop to the height of the st, this looks more
seamless than chaining 2 to start.
Special Stitches
Beginning cluster: Ch2, [Yo, insert hook into st and pull up a loop, yo pull through 2 loops] x3, yo pull
through all loops, ch1 to lock in place.
Cluster: [Yo, insert hook into st and pull up a loop, yo pull through 2 loops] x4, yo pull through all
loops, ch1 to lock in place.
Puff stitch: [Yo, insert hook into st and pull up a long loop] x4, yo pull through all loops, ch1 to
secure puff.
Linked double crochet: Insert hook into horizontal bar of previous st, yo and pull through loop,
insert hook into next st, yo and pull up a loop, yo pull through 2 loops, yo pull through remaining 2
loops.
Linked half double crochet: Insert hook into horizontal bar of previous st, yo and pull through loop,
insert hook into next st, yo and pull up a loop, yo pull through all loops.
With A and 5mm hook, ch4 and join with sl st to
form ring.
Round 1 Ch1 (does not count as st), 12sc into
ring, join to 1st sc. (12sc)
Round 2 Ch1, sc in same st, [ch3, sc in next st]
around, ch3, sl st to sc. (12sc, 12 ch3 sps)
Round 3 Sl st into next sp, ch1, sc in same sp, [ch3, sc in next sp] around, ch3, sl st to sc. (12sc, 12 ch3 sps)
Round 4 Pull up a loop, ps in ch sp, ps in same sp, [2ps in next sp] around, sl st to top ps. (24ps) With B, join with sl st in any ch sp.
Round 5 Bcl in same sp, [cl in next sp] around, sl st to top bcl. (24cl) With C, join with sl st in any ch sp.
Round 6 Ch1, sc in same sp (pm), hdc in next st,
ldc in next st, ldc in each sp and st around, do
not join we will be working in a spiral. (72ldc)
Remember to move marker up each round.
Round 7 Ldc in each st. (72ldc)
Repeat round 7, 9 more times or until piece
measures 8 inches (20cm) from top of crown
ending with lhdc, sc, sl st in last 3 sts. Do not
fasten off.
Ribbing
Row 1 With right side facing and 4.5mm hook,
ch9, sc in 2nd ch from hook and in each ch, sl st
to next 2 sts along bottom of hat, turn. (8sc)
Row 2 Sk both sl sts, sc in each st working in bl
only, turn.
Row 3 Ch1, sc in each st working in bl only, sl st
to next 2 sts along bottom of hat, turn.
Repeat row 2 & 3 until you have worked around
the entire hat. Do not fasten off.
Turning work
inside out, sl st or sc both edges together to
join, fasten off and weave in ends.
Inspired by Van Gogh's famous painting, the Sunflowers scarf is made from 100% new wool making it super cosy for autumn and winter. Sunflowers always make me feel so happy, I love the cheery brightness of the petals and the intricate honeycomb effect of the seed head. I used 12 Sunflower Granny Squares joined together, with big poofy tassels at the ends. Treat yourself or make a last minute gift for someone you love.
As always an ad free pdf version of this pattern is available in my online stores, thank you for helping to support my work...
Sunflowers Scarf
Materials
Drops Alaska in Dark Brown Mix (A) x3 50g balls, Mustard B x2 50g Balls, Off White x4 50g balls
About the yarn: Drops Alaska is a 100% new wool. Each 50g ball contains approx. 77 yds (70 m)
and is hand wash only
Special Stitches
Beginning cluster: ch2, [Yo, insert hook into st and pull up a loop, yo pull through 2 loops] x3, yo pull through all loops, ch1 to lock in place.
Cluster: [Yo, insert hook into st and pull up a loop, yo pull through 2 loops] x4, yo pull through all loops, ch1 to lock in place.
Puff stitch: [Yo, insert hook into st and pull up a long loop] x4, yo pull through all loops, ch1 to secure puff.
Other notes:US terms
throughout. When substituting yarn be sure to choose one with a similar
gauge.When starting the first ps, pull
up a loop to the height of the st, this looks more seamless than chaining 2 to
start. Squares may be blocked individually before joining, or alternatively you may block the finished scarf.
Sunflower granny squares (make 12)
With A, ch4 and join with sl st to form ring.
Round 1 Ch1
(does not count as st), 12sc into ring, join to 1st sc. (12sc)
Round 2 Ch1,
sc in same st, [ch3, sc in next st] around, ch3, sl st to sc. (12sc, 12
ch3 sps)
Round 3 Sl
st into next sp, ch1, sc in same sp, [ch3, sc in next sp] around, ch3, sl st to
sc. (12sc, 12 ch3 sps)
Round 4 Pull
up a loop, ps in ch sp, ps in same sp, [2ps in next sp] around, sl st to top ps.
(24ps)
With B, join with sl st in any ch sp.
Round 5 Bcl in same sp, ch1, [cl in next
sp] around, sl st to top bcl. (24cl)
With C, join with sl st in any ch
sp.
Round 6 Ch4 (counts as
tr), 2tr in same sp, ch2, 3tr in same sp, *3dc in next sp, 3hdc in next sp, 3sc
in next sp, 3hdc in next sp, 3dc in next sp, [3tr, ch2, 3tr] in next sp* repeat
from *to * 3 times, 3dc in next sp, 3hdc in
next sp, 3sc in next sp, 3hdc in next sp, 3dc in next sp, join with sl st to
top ch4. (24tr, 24dc, 24hdc, 12sc)
Fasten off and weave in ends.
Blocking your squares can improve the look and feel of the finished scarf...
Joining Squares
Join two squares together as follows-
With right sides facing and C, join with
a sl st in top right corner sp.Working
through both squares simultaneously, sc each st together across the square,
ending with a sc in top left corner sp.Fasten off.Continue to join all
remaining squares to form scarf.
Work a border of single crochet around the entire scarf as follows - Join C with sl st to any st on side of
scarf, ch1, sc in same st, sc in each st around scarf and [sc, ch1, sc] in each
corner sp, join with sl st to 1st sc.Fasten off and weave in ends.
Tassels
Using remaining C and tassel guide, make
4 tassels and attach to each corner at the ends of the scarf. Use 50 wraps per tassel.
If you love this scarf make sure to subscribe, so you don't miss the matching beanie coming very soon...
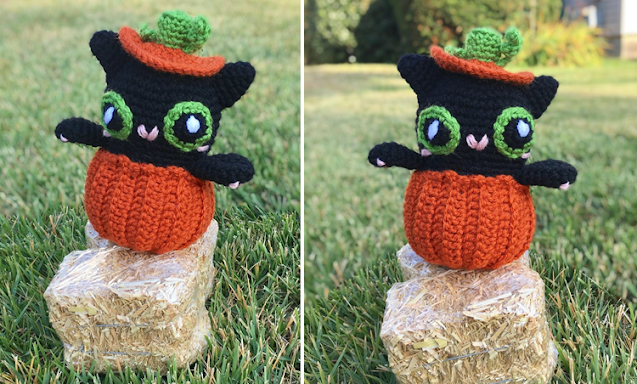
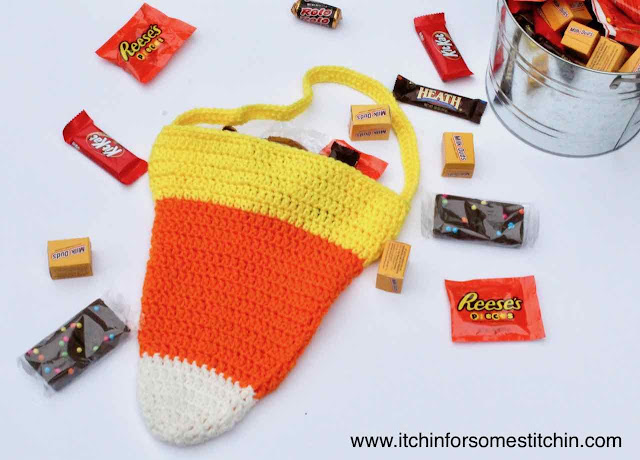
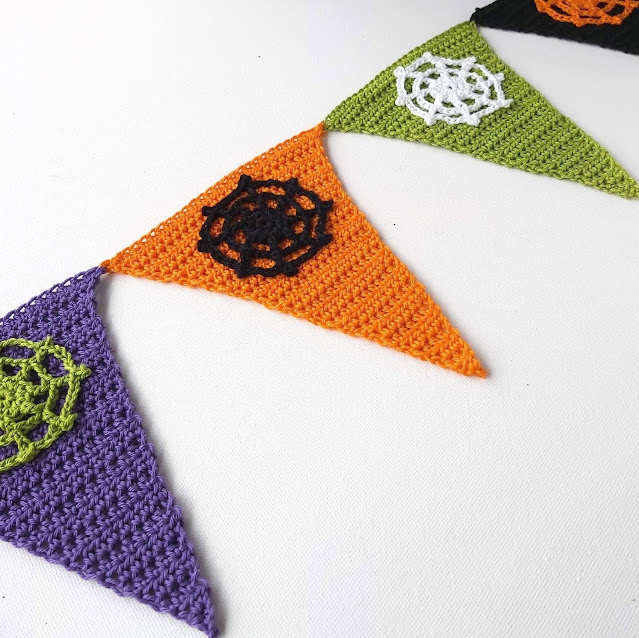
Hi everyone, how is it this time of year already? Where has the time gone? I don't think any of us will be celebrating halloween in quite the usual way this year, but here are a selection of free crochet patterns that you can make for your kids or to decorate your home...
Decorate your home with this super cute bunting by Jen Hayes..