Showing posts with label Recipes. Show all posts

Wednesday 10 June 2020

Elderflower Champagne Recipe - A fond memory of my childhood...

You know summer is finaly here when the elderflowers are blooming. They always remind me of the walks I used to take with my mum as a child.  We would walk along the country lane to the river and collect the elderflower blooms to make Elderflower Champagne.

My mum would use a big bucket with water, sugar, lemons and the flower heads and leave them overnight or a little longer.  She used plastic pop bottles to strain the fragrant liquid into (glass ones had exploded previously and the plastic one seemed to fair better).  She would keep the bottles in her wardrobe and we would wait impatiently for them to be ready.

It was always worth the wait, Elderflower Champagne is such a glorious taste of summer.  It really is summer in a glass.  If you have never tried it before I urge you to give it a go...


Elderflower Champagne


Ingredients

8-10 elderflower heads
4 cups sugar
3 pints of hot water
6 pints cold water
4 lemons


  • Add the hot water and sugar to a large sterilised container and stir until dissolved
  • Add the cold water and leave until completely cool
  • Slice the lemons and add them along with the elderflower heads
  • Leave covered for 24 to 48 hours, you should start to see bubbles forming on the surface when it's ready
  • Strain through a muslin cloth into strong bottles
  • Store somewhere cool and dark and leave for at least a week
  • During this time if you are using glass bottles, it is recommended that you "Burp" them a few times a week to ensure the bottles don't explode.  This is simply releasing the pressure of the lid to allow some of the gas to escape.


Best enjoyed chilled with a slice of lemon, just add sunshine...


I hope you will enjoy this recipe.  What fond memories do you have from your childhood?  Let me know in the comments below...

See you all soon
Catherine
x


You might also like...


This post contains Amazon Affiliate links...


Wednesday 6 May 2020

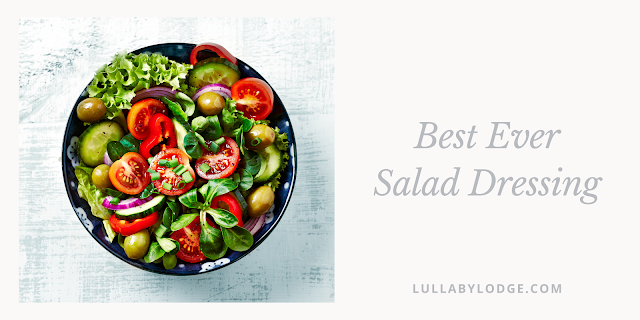
Best Ever Salad Dressing - Mum's secret recipe, makes everything taste delicious (not just for salads...)

Hello friends, I have a super quick and easy recipe to share with you today.  My mum used to make the most amazing salads and the secret was always her salad dressing.  I have been using it for many years now and no matter what you put it on, it makes it taste delicious.

We use it on salads (of course), but it's also great on steamed vegetables, new potatoes, pasta salads and I am sure you could think of some more uses for it.  It is super simple to make too and you can keep it in the fridge for ages.


Best Ever Salad Dressing


Ingredients


Oil (olive or your favourite)
White wine vinegar
Salt (pinch)
Sugar (pinch)
Black pepper (pinch)
2 garlic cloves


  • Using an empty jam jar, add 1 part vinegar to 4 parts oil.  You can use any oil for this, I like to use a mixture of extra virgin olive oil and sunflower oil (this stops the olive oil from setting when you store it in the fridge).  You can also use red wine vinegar or balsamic if you prefer.

  • Add a pinch of salt, sugar and pepper.

  • Crush the garlic cloves with the back of a knife (they should be squashed a bit to release their flavour but still whole) and add to the jar and replace lid.

  • Shake well before use and pour over your salad, mixing well.  we use around 2-3 dessert spoons for a large bowl of salad.

  • Store in the fridge, will keep for a couple of weeks.


This dressing tastes best after a few days, when the flavours have had chance to develop.  Little T has always been a great vegetable eater and I put it down to Mum's dressing.  If you have a fussy eater that won't eat salad, try this out.


I hope you will give this a try.

Ta ta for now
Catherine
x


You might also like...


This post contains Amazon affiliate links...


Wednesday 8 April 2020

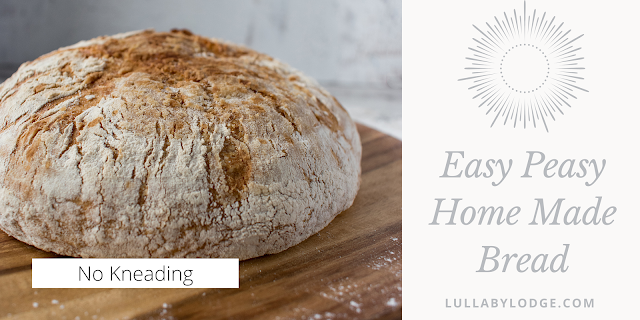
Super Easy No Knead Bread - Store Cupboard Recipe

This bread is so simple and can be made from ingredients you already have in your pantry.  The finished loaf is very similar to ciabatta.  It's delicious for sandwiches the day it's baked and perfect for toast or bruschetta the next day.

No kneading is required as the dough is left over night and time does all the work for you.


Easy Peasy No Knead Bread


Ingredients

3 cups flour (bread flour or plain flour)
1½ cups water
1tsp salt
½tsp dried yeast


  • Add all the ingredients to a bowl and mix well.  It should form a very sticky dough, with the consistency of very thick porridge.

  • Cover with cling film or a damp tea towel and leave overnight.  The next morning the dough should look bubbly and frothy.

  • Turn out onto a very well floured work surface and dust the dough and your hands with flour.

  • shape the dough with your hands by gently turning around and under, until if forms a round loaf shape

  • Leave to rest for 30 mins.

  •  Meanwhile heat your oven to 180℃ and put your dutch oven or loaf tin inside to heat up.

  • Scoop up your dough and place in the dutch oven and cook with the lid on for 30 mins.

  • Remove lid and bake uncovered for a further 15 mins.

  • The bread should be golden and crusty when cooked and sound hollow when tapped.

  • Turn out onto a rack to cool


You will now have the most delicious, crusty, country style bread.  Cooking in the dutch oven is what gives this loaf its crust.  You can of course, just cook if in a normal loaf tin or baking sheet, if you don't have one or would like a softer crust. 


Pin it for later...


I hope you will give it a try...

All the best
Catherine
x


You might also like...


This post contains Amazon affiliate links...


Wednesday 4 March 2020

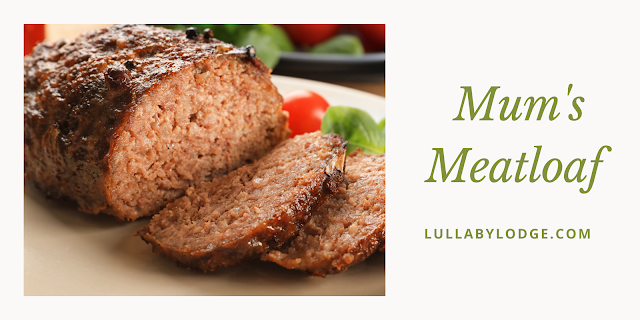
Mum's Meatloaf - A fond memory of my childhood...

Hello everyone, I hope you are all well.  Mostly here in Windsor we have had a very mild winter, but I know many of you have been having snow and storms and at this time of year we are all craving some comfort food.

I have fond childhood memories of on such days eating my Mum's meatloaf.  She would serve it up with a steaming pile of buttery mashed potatoes and steamed vegetables and now I make it for my son and he loves it too.

The recipe is also very versatile, while my mother only used it to make meatloaf, it also makes delicious meatballs and burgers.  So I thought I would share the recipe with you all, my Mum's Meatloaf...


Mum's Meatloaf


Ingredients


500g beef mince
5 or 6 lincolnshire sausages (skinned)
Tomato ketchup (1-2 tbsp)
Brown Sauce (1-2 tbsp)
1 onion (finely chopped)
Salt & pepper to taste
1 egg


  • Preheat oven to 180℃
  • In a large bowl add all the ingredients and with your hands mix everything together, give it a really good squidge
  • Place the meatloaf mix into a loaf tin, or simply form into shape and place on a roasting tray
  • Cook for 45 mins
  • Best served with mashed potatoes, steamed vegetables and gravy

If you are not from the UK and don't know what Brown Sauce is, it kind of has the same consistency as tomato ketchup only brown.  The flavour is similar to Worcester Sauce, maybe slightly sweeter.  You could substitute a dash of worcester Sauce if you don't have any.


Pin it for later...


I hope you will give this recipe a try, it really is delicious and if you do be sure to let me know in the comments below.

See you soon...

Catherine
x


You might also like...


This post contains Amazon affiliate links...


Wednesday 12 February 2020

Spiced Orange & Pumpkin Cake - A great way to use up all those winter squash, try it, it's delicious...

Hello everyone.  I have another recipe to share with you today.  This is a family favourite of ours, Little T particularly loves it.  As some of you know we have an allotment, where we grow our own fruit and veg.  For those of you over the pond who may not know what an allotment is, it's a small plot of land rented from either a private landlord or by the local council.  It's a great way to get outside and grow your own food and you get to meet lots of lovely people too.  We live in a very small flat and so with no garden of our own, our allotment is our little outdoor space.


In the autumn we harvested many, many winter squashes.  These store over the winter really well and will last until around March or April.  It's about this time of year that I start to process any of the squash that we have left for storing in the freezer.  I simply boil, mash and freeze.  You can use any kind of winter squash or pumpkin for this recipe, so if you don't grow your own, most supermarkets will sell some kind of winter squash and some places also sell tinned pumpkin puree.


We grew so many winter squash last year and still have many of the Crown Prince (the blue ones) and Uchiki Kuri (orange) ones left.  These are both particularly good for this recipe...


Spiced Orange & Pumpkin Cake


Ingredients

135g plain flour
220g soft brown sugar
1tsp baking powder
110g oil or melted butter
175g pumpkin / squash puree
2 eggs
Pinch of  mixed spice
Pinch of nutmeg
2tsp orange extract
Zest of 1 orange
Icing / frosting
Orange slices for decoration (optional)


  • Preheat oven to 170℃
  • Line and grease a 7 or 8 inch cake tin (we use an oblong tin but it doesn't really matter what shape)
  • Mix all dry ingredients together in a large bowl
  • Add all wet ingredients to another bowl and beat until well mixed
  • Combine the wet and dry ingredients together and mix until incorporated
  • Pour into the tin and bake for 25 mins
  • When the cake is cooked (when poked with a skewer it should come out clean), turn out on a rack to cool
  • Once cool, ice and decorate with orange slices


We often use shop bought buttercream icing for this cake but you can also make an orange drissel, by combining a little orange juice with icing sugar and orange extract.  The cake may also be enjoyed with no icing at all...


Pin it for later...


I hope you will give this a try and I will be back very soon...

Catherine
x


You might also like...


Thursday 26 December 2019

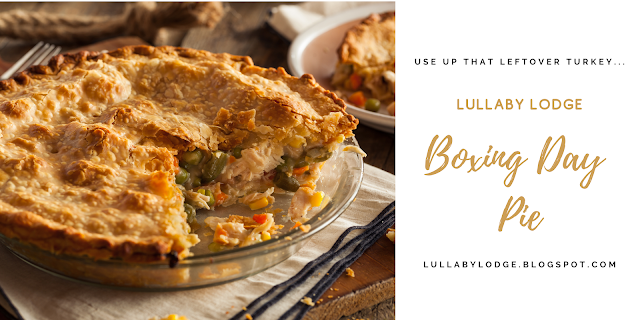
Boxing Day Pie - Use up all those leftovers from Christmas lunch and make this delicious pie...


We like to go all out for Christmas lunch in our house.  We have the traditional English Christmas fare of, turkey, stuffing, pigs in blankets, roast potatoes and parsnips, sprouts and more.  So as I'm sure you can understand, there are a lot of leftovers, but, not wanting anything to go to waste we always have a delicious turkey pie on Boxing Day, to use them all up and I thought you might like to try it too...


Boxing Day Pie


Ingredients (serves 4-6)

2 leeks
Double cream
1 sheet of ready rolled pastry (short or puff is fine)
Stilton cheese (optional)
1 heaped tsp plain flour

Christmas Lunch Leftovers

Turkey, veg, stuffing, pigs in blankets, gravy

  • Wash and slice the leeks and gently fry them in a little oil.  We use olive oil, but you can use your favourite.
  • Cut your cold turkey into chunks and add to a pie dish
  • Do the same with leftover veg, stuffing and pigs in blankets (you really can use whatever leftovers you have)
  • Once the leeks are softened, stir in the flour and cook for a minute
  • Add the gravy about half a cup (you can use chicken stock if you don't have leftover gravy) and the cream about half a cup also.
  • Stir until thickened, add water until you get the right consistency.
  • If you like stilton cheese you can crumble some in to taste and stir until melted.
  • season with salt and pepper
  • Pour the sauce over the turkey leftovers and cover with pastry
  • Bake for 30-40 minutes at 180°C until pastry is golden and the filling is piping hot


Pin it for later...


I hope that you will give this recipe a go.  What do you eat for Christmas in your house and what traditions do you keep?  Let me know in the comments below...

Enjoy!
Catherine
x


Related posts...


This post contains Amazon affiliate links...


Tuesday 10 December 2019

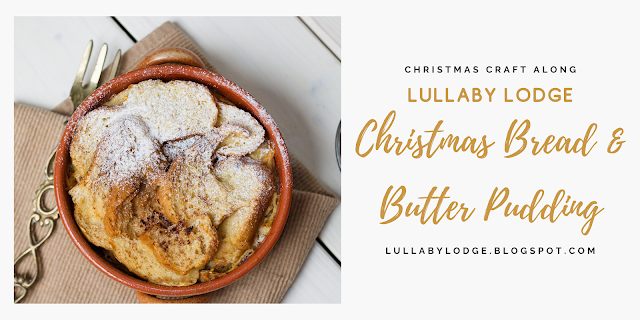
Christmas Bread & Butter Pudding - A delicious way to use up stale bread - Christmas craft along...

Hello friends.  I have something a little unusual to share with you today.  I'm not really sure if cooking counts as a craft, but I thought it would make a nice change to do something different.   I always like to cook a nice roast for Sunday lunch and finish it off with some kind of homemade pudding.  During the week we try to be a bit more healthy, so the weekend is time for treating ourselves, especially as it's almost Christmas.


Although I do love to cook, I am not really much of a baker.  All that faffing around weighing stuff and being precise, it's just not me.  I like to experiment and just chuck stuff in when I'm cooking, so I tend to stick to a few deserts that I can make, without needing to check a recipe or watch Youtube.  Bread and Butter Pudding is one of my goto puddings, as it's so simple and can be adapted to suit your mood.  One of our favourite ways of making it is with chocolate spread sandwiches.  So yummy!  So I thought why not try and make a Christmassy version.  The finished pudding was so delicious, I knew you would like to try it to, so here it is...


Christmas Bread & Butter Pudding


Ingredients (serves 6)

8 slices of bread (slightly stale is best)
Soft butter
2 tbsp sugar
4 tbsp mincemeat
A handful of dried cranberries
Orange marmalade
2 eggs
2 cups milk (or 1 cup milk, 1 cup double cream)
Icing sugar
Brandy cream


  • Grease a medium sized oven dish
  • Butter each slice of bread and lay half of them butter side down in the dish
  • Spread the other side thickly with marmalade and dot the mincemeat over the top
  • Sprinkle with cranberries
  • Lay the remaining slices of bread on top butter side up
  • In a jug whisk the eggs, milk and sugar and pour over the top of your bread slices
  • Leave for 30 minutes to allow the bread to soak up all of the custard mixture (the pudding can be frozen at this point if you want to make it in advance)
  • Bake in a medium hot oven for 30 minutes, until golden brown.  (160°C or 320°F)

Sprinkle with icing sugar...


...and serve with Brandy cream for extra decadence... 


Pin it for later...


I hope you will give this recipe a try.  What do you like to cook at Christmas?  Let me know in the comments below and make sure to subscribe for more posts like this...

Enjoy!
Catherine
x


Subscribe

* indicates required


You might also like..


This post contains Amazon affiliate links...


Sunday 8 July 2018

Recipe - Bramble Berry Vodka

This hot weather has been doing crazy things to our berry patch at the kitchen garden.  We have so many berries ready for picking and many more ripening on the bushes.  Little T has been really enjoying picking them and enjoying the berry crumbles even more. 


A couple of years ago I made some blackberry vodka and it was delicious, so I thought I might have a go at a mixed berry version.  He's how I made it...

Bramble Berry Vodka

You will need...
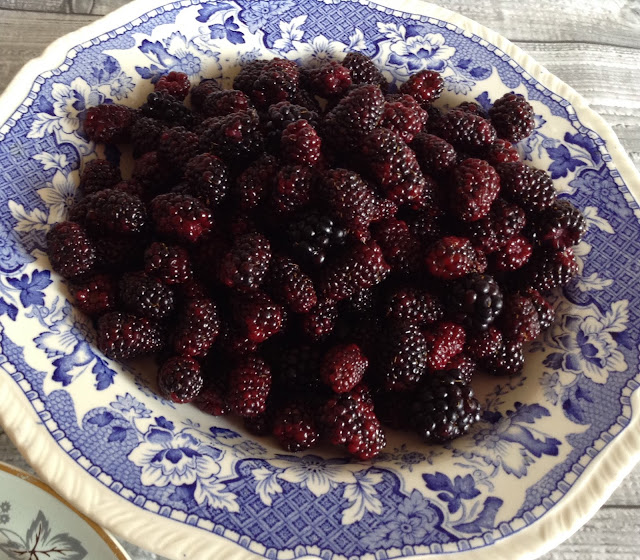
A few handfuls of berries (we used blackberries and the mystery berries, you can read about them here)
Sugar to taste (around 150 g)
Vodka (the cheap kind is fine)
A large jar

First give the berries a good wash...


...then add them to your jar...


...tip in the sugar...


...and cover with vodka.  


Give the jar a good shake and leave in a cool dark place for a few weeks shaking every day until the sugar is dissolved.


When your vodka is ready it will be look all gorgeous and berry coloured.  It can now be strained and bottled.  Be sure to have a little taste to check for sweetness and adjust if necessary (you might need to test a few times just to be sure).  Oh and try not to drink it all at once...

What's your favourite thing to make with summer berries?  I would love to hear in the comments below...

Enjoy!

Catherine
x


Sunday 29 October 2017

Zombie Meatloaf with Mashed Brains

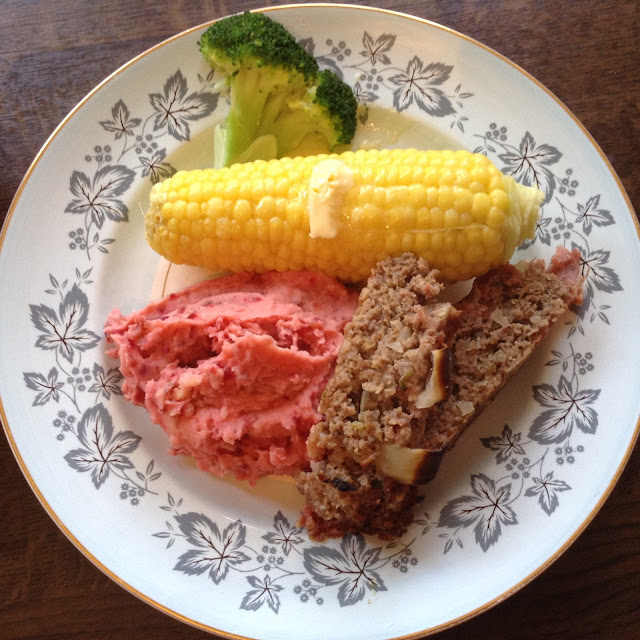
So getting in the Halloween mood, today we had Zombie Meatloaf with Mashed Brains for lunch.


We used this fantastic meatloaf recipe by Chef John of Food Wishes and you can watch how to make it here


I think our zombie may need the dentist!

For the Mashed Brains...
Simply boil up a few potatoes with some beetroot and mash.  Add a little cream, a nob of butter and season with a pinch of salt.


 Totally gruesome!
x

Sunday 15 October 2017

Pumpkin Treacle Tart Recipe

Hello lovely people.  Well it just feels like summer again here.  The last few days have been gloriously warm.  I spent the whole day yesterday with little T at our allotment garden.  It was so lovely to just sit and watch the bees buzzing around and listen to the birds singing.  There is nothing more beautiful than the sound of British bird song.  We got quite a bit of work done too, dug up some more potatoes, a bit of weeding, harvested all of our corn (something had totally stripped a few of the cobs, rats maybe?  So thought it had better be harvested before they got the lot).  Little T planted some cabbage and Kale seedlings and some onions and garlic in his garden too...

We harvested our largest pumpkin last week even though it wasn't completely ripe (something had been nibbling it).  It was quite a beauty we tried to weigh it and got an EEEE message, too heavy for the kitchen scales.  Tried the bathroom ones next and it came in at just over 2 stone.  Not bad for our first attempt at growing them.  I chopped it into large pieces and roasted it in the oven for about 40 mins.  When it was cool I peeled and chopped it and then divided it up into roughly 400g portions to freeze.  We have had 2 pumpkin pies so far (which little T loves) and some pumpkin pancakes for breakfast this morning.  They were also very tasty.  Both recipes are by Chef John from Food Wishes and you can try them out here

Chef John's Pumpkin Pie...


and Pumpkin Pancakes.


Now the pancake recipe only used around half of my freezer bag portion of pumpkin, so I needed to find something else to make with the leftovers.  I also had some stale bread lying around and half a tin of golden syrup that has been sitting at the back of my cupboard for who knows how long, so I wondered if I could make something between a pumpkin pie and a treacle tart.  So here we have my Pumpkin Treacle Tart recipe...

Pumpkin Treacle Tart


Ingredients:
250g ready made short crust pastry
200g pumpkin puree
4 slices of stale bread (blitzed into breadcrumbs)
1 egg
1/2 tsp mixed spice
1/2 tsp nutmeg
1 tsp cinnamon
4 tbsp golden syrup  
2 tbsp melted butter

First you need to preheat your oven to 200 c (you may need to adjust for fan ovens), then roll out your pastry and line an 8 inch cake tin or pie dish or whatever you can find that's the right size and shape.  Next you simply combine all the other ingredients, it couldn't be easier.  Pour your yummy syrupy, pumpkiny, spicy mixture into the pie case (this smells sooo delicious), if you have any left over pastry you can create a lattice over your pie but this is optional.  Pop into the oven for 20 minsand then turn your oven down to 180 c and cook for a further 20 minutes.  Your treacle tart should look lovely and golden brown.  Leave in the tin for 5-10 mins before turning out.  

You can eat this either hot or cold, but really who can wait that long?  Perfect with just a dollop of cream or you can go with custard or some lovely vanilla ice cream and of course the obligatory cup of tea...


Enjoy!
x


Monday 9 October 2017

Will My Courgettes Ever Stop Growing?

Well hello everyone.  It's been a long time again (I know I promised).  This year has just been super busy.  Lot's of blankets selling in my shop and lot's of time spent in our allotment garden.  

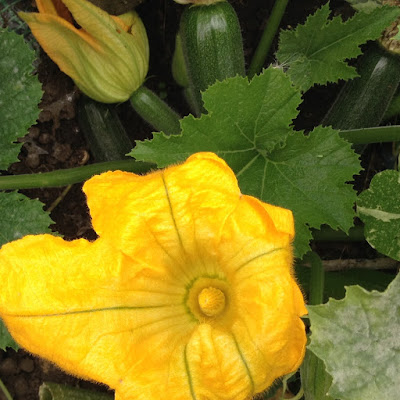
It has been amazing having a green space for little T to play outside in and also a great bonus being able to eat what we have been growing...  Which to be completely honest, was mostly courgettes (zucchini to those of you across the pond). 


 Apparently 4 courgette plants is enough to keep a large family going all summer.  We had 11.  Suffice it to say they were coming out of our ears... and they are still growing.  We have had them roasted, stir fried, steamed, we have had courgette soup, courgette pasta, courgette risotto, courgette pizza, courgette fritatta, courgette bread, courgette cake and far too many other things to list.  I even tried making jam with them (it was OK...but not the greatest jam I have ever made).

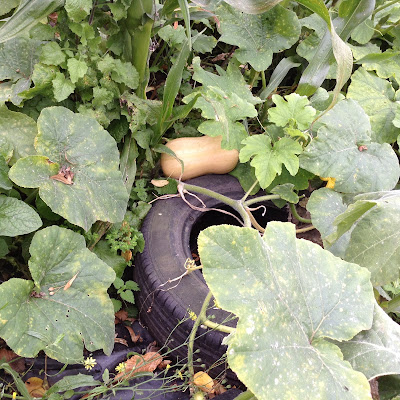
The potatoes also did really well.  I still have a couple of rows left that need digging up.  We also harvested 1 giant pumpkin, which I cooked and froze into pumpkin pie sized portions (12 bags from just 1 pumpkin).  This was little T's first ever taste of pumpkin pie and he loved it.  We also have a ton of butternut squash still waiting to be harvested.


Autumn is definitely here now though. The mornings are chilly and the leaves on the trees are turning the most beautiful russet and gold.  There are still a few flowers dotted here and there and the odd bee buzzing around.  


Even though the weather is getting colder and the nights are drawing in, there is still time for some more planting.  In the mini green house we have some turnips, swede, kohl rabi, cabbages and kale seedlings growing that we will overwinter... 


...and little T now has his own patch of garden.  I made him a small 4 by 4 square foot garden, that I will talk about more in another post.

I will just leave you with a few of our favourite courgette recipes, so that if you too have a glut next year, you will know what to make with them...

By for now
Catherine
x


For daily posts and lots of crochet, please take the time to visit my Facebook page..