Showing posts with label Christmas. Show all posts

Monday 18 November 2019

Mini Hot Water Bottle - Great last minute gift idea, quick & easy make - Christmas Cal

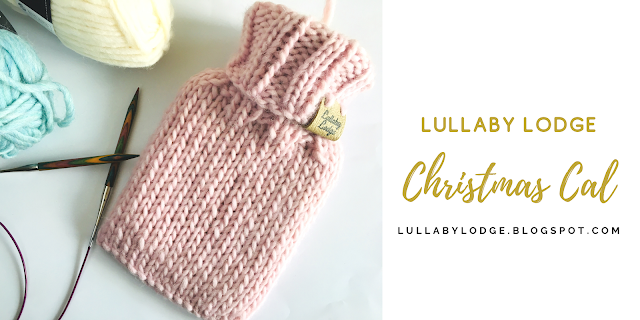
Hello friends, this week for the Christmas craft along, I have updated another old pattern.  You can find the original pattern here...   This mini hot water bottle cover, makes a wonderful quick and easy, last minute gift.  I'm sure there is someone you know, who would love one of these.


Mini Hottie


Needles
7mm dpn's or circular needles

Ability  
Beginner who is familiar with working in the round

Size
Fits 500ml hot water bottle

Gauge
10 x 10 cm = 11sts x 15 rows in stocking stitch

Abbreviations
k - knit
k2tog - knit 2 together
st(s) - stitch(s)
ssk - slip, slip, knit
pm - place marker

Special Stitches
2x2 rib - [k2, p2]

Other notes:  This project will use an entire ball of yarn, if your gauge is not spot on you may require another ball.  The cover is worked in the round in stocking stitch (knit every row), with ribbing at the neck.  I like to use Knit Pro Symfonie, interchangeable needles.   The smooth wood is a delight to knit with and they are super lightweight, making them a great choice for anyone suffering with arthritis or tired hands. There is no need for any fasteners on the cover as it will easily stretch over your bottle.

With 8mm needles, cast on 32 st’s and join in the round, pm to denote beginning of round.

Round 1-23 k

Round 24 k1, ssk, k10, k2tog, k2, ssk, k10, k2tog, k1 [28 st’s].  

Change to 7mm needles.

Round 25-49 2x2 rib.

Cast off in rib.  Sew bottom closed using whip stitch.


You can make a stopper loop, by tying a scrap of yarn to the stopper...


If you are giving this as a gift you might like to add a festive belly band.


Find out how you can obtain these labels in this post...


Pin it for later...


I hope you enjoy this pattern and don't forget to stop by next week for another Christmas craft and make sure to subscribe so you don't miss any posts.

See you soon
Catherine
x


Related posts...


This post contains Amazon affiliate links...


Monday 11 November 2019

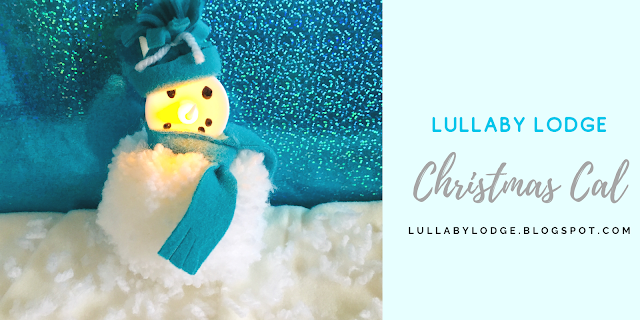
Tea Light Snowman - Time to get crafting with the kids and make this super cute pom pom snowman - Christmas Cal

Hello everyone!  It's time for our second edition of our Christmas craft along and this week it's one for the kids to enjoy.  Little T loved making this super cute, Tea Light Snowman.  This project is great for using up scraps of yarn and fabric and is so simple to make.  This snowman will look adorable hanging from your tree this year.


Tea Light Snowman


Materials

Glue
Black marker
Scraps of fabric
Ribbon


Start by making a large pom pom.  Little T used a Clover Pom Pom Maker for this, but, you can use your prefered method.  There are many videos on Youtube if you have never made them before.  


Make sure you use plenty of yarn so your pom pom is extra fluffy.


Carefully cut the yarn and tie securely.


Trim into shape...


Draw a face on your tea light with a black marker.


Glue to the top of your pom pom


Cut a strip of fabric for the scarf and snip the ends to make a fringe.


Cut another strip of fabric and glue a fold on one side for the brim of the hat.  Cut a fringe along the other side.


Glue the two short edges together and tie a piece of yarn around to make a pom pom hat.


Glue your hat and scarf onto your snowman.  Add a hanging ribbon if you are planning on hanging him from your tree.


Your kids will love making these...


Little T even took some of his own photos...


Pin it for later...


I hope your kids will love making this snowman.  I will be back next week with more Christmas crafts, so be sure to subscribe so you don't miss out.

Happy crafting!
Catherine
x

You might also like...


This post contains Amazon affiliate links...


Monday 4 November 2019

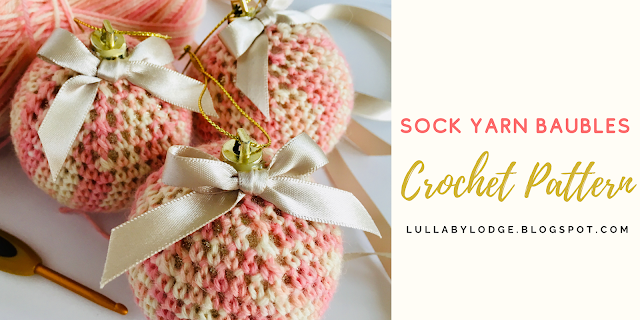
Sock Yarn Baubles - Let's have a Christmas craft along! New projects every week until Christmas...

Hello friends, Halloween is over and the weather is getting colder, which means we are nearing my favourite time of year.  I just love Christmas and what better way to build the excitement than with some Christmas crafts.  Join me all through November and December as I try out lots of new projects with a Christmasy theme.  There will be lots of crochet and other yarny crafts, kids crafts and more.  Make sure you subscribe so you don't miss out on any posts, and why not join my Facebook Group too, where we can all share our Christmas makes...


Our first project for the Christmas CAL is one of my own designs.  It is actually the first ever pattern I wrote on this blog and it has been updated and improved with new artwork, including round by round photos.  If you would like to see the original pattern you can do so here...


Sock Yarn Baubles


Materials

Sock yarn (small amounts)
Darning needle
Tiny bows or some ribbon
60mm bauble
Stitch marker
Glue gun
Hot glue sticks


Hook

3.5mm (E)

Abbreviations US Terms (UK Conversion)

sc - single crochet (double crochet)
sc2tog - single crochet 2 together (double crochet 2 together)
ch - chain
st(s) - stitch(es)
pm - place marker

Other notes:  Sock Yarn Baubles are worked in a spiral.  Do not join at the end of rounds.  Move marker up at the end of each round.

Starting with a magic loop

Round 1 ch1 (does not count as st), 6sc into ring.  Pull tight but do not join. Pm in 1st sc.


Round 2 Starting in the first sc from previous round 2sc in each stitch around (12sc)


Round 3 [2 sc in first stitch, sc in next st] repeat around (18sc)


Round 4 [2sc in first stitch, sc in next 2 sts] repeat around (24sc)

Rounds 5-7 Continue to increase by 6 sts in each round until you have 42sc


Rounds 8-14 Sc in each st around.  


At this point try your crochet around your ball.  It should be a little over half way up the bauble, when stretched.  If it is not over half way you can add a few extra rounds of sc in each stitch until it looks like the photo below...


Round 15 [sc2tog, sc5] repeat around.  (36sc)

Round 16 [sc2tog, sc4] repeat around.  (30sc)

Round 17 [sc2tog, sc3] repeat around.  (24sc)


Now comes the tricky part, stretch your crochet over the plastic ball and continue to work around.  You need to stretch your crochet quite tightly, this stretches the stitches and allows your sparkly bauble to peek through the crochet.


Round 18-20 Continue to decrease 6 sts in each round until you have 6 sts.


Bind off leaving a long tail and thread yarn onto a sewing needle.  work your yarn under each stitch and pull tight.  I find it easier to pop off the top of the bauble to do this.  Bind off hiding yarn inside the crochet.  


Replace the top of your bauble and add a cute bow, attach with some hot glue.


Make lots more to fill your tree...


If you would like to help support my work an ad free pdf of this pattern is available in my Etsy Store.


Pin it for later...


I hope you enjoyed this pattern and I would love you to join in with the CAL.  Be sure to share your projects in the Facebook Group and subscribe for more posts like this...

Happy hooking!
Catherine
x

You might also like...


This post contains Amazon affiliate links...


Tuesday 18 December 2018

Moss End Village Christmas Trail & Victorian Fair

Christmas is not Christmas without a trip to a village fair.  This year we went to Moss End Village to see what they had to offer.  The fair was situated on an old farm converted into shop suits, including a garden centre and lot's of craft shops.  


 The children were given a trail card and told to look out for 15 elves that were hiding around the site.  Our first stop was to write a letter to Santa and collect a stamp on the trail card.  The next stop on the trail was inside a glass blowing shop.  The children helped to decorate a glass Christmas tree and collected another stamp on their card.


The next mission on the trail was to feed Santa's reindeer.  The children were given a sprig of lichen, which the deer gobbled up.  I guess they only eat carrots on Christmas Eve...


As we walked around the trail there were lots of stalls, rides and games for the children to enjoy and the smell of roast chestnuts and freshly made donuts filled our nostrils, making us rather hungry...


Little T enjoyed the rides and playing all the games.


After collecting our final stamp it was time to see the big man himself...


We really did have a lovely day out and I hope you all have an amazing Christmas...

Catherine
x

Saturday 8 December 2018

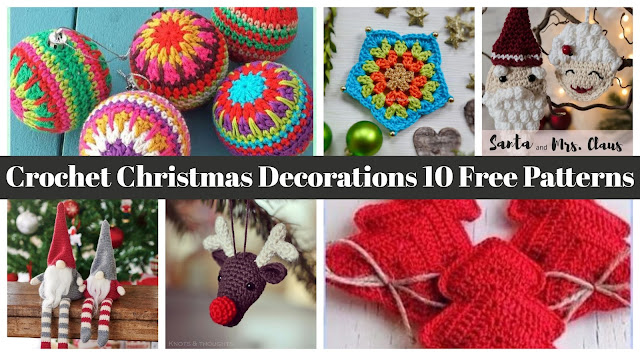
Christmas Crochet Round Up! Decorate your home with these 10 free patterns...

What could be more festive than bedecking your halls with gorgeous handmade decorations.  I have scoured the web and found this selection of my favourite 10 free patterns.


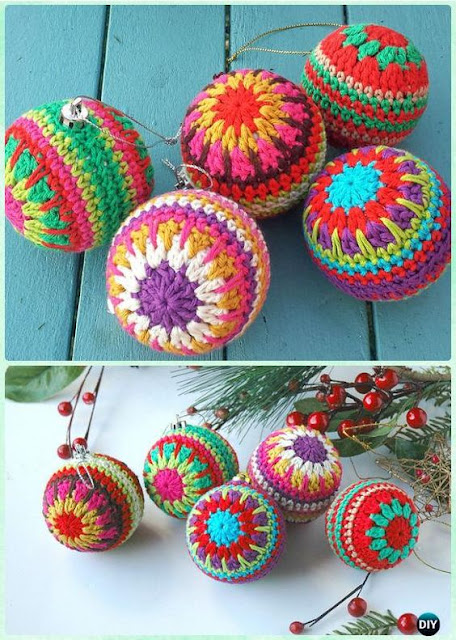
Everyone loves a granny bauble and this Christmas Bauble by Carmen Heffernan is gorgeously bright and cheerful, perfect for any tree...


... and what tree would be complete without some pretty stars?  Why not try these Crochet Stars by One Dog Woof...


Trim your tree with the super cute Santa and Mrs Claus designed by Yarnhild


You can never have enough baubles on your tree and this free pattern from Hello Yellow Yarn is super cute!


Crochet a Christmas Gnome for your home, with this pattern from Simply Crochet Magazine.  


No Christmas is complete without pudding and this Crochet Pudding Decoration by Crafty Cruella is just the thing...


Make these festive Crochet Christmas Tree Ornaments, pattern by Salvabrani.


Santa wouldn't know what to do without his trusty reindeer and this Crochet Rudolph ornament is just adorable.  Pattern by Knots and Thoughts.


We don't always get the white Christmas we are dreaming of so why not make a flurry of Crochet Snowflakes with this simple 2 row pattern.


Finally this gorgeous granny star by my good friend Marjan.  You can find Myriads of Stars on her blog...


I hope you enjoyed my Christmas crochet round up and don't forget to share all your makes over on my Facebook Group page...

Happy Christmas Hooking
Catherine
x


You might enjoy...


This post contains affiliate links...