Showing posts with label stash busting. Show all posts

Saturday 25 May 2019

Crochet Granny Bookmark - Our Happy CAL Place, weekly and monthly CAL group on Ravelry.

Hello lovely people, last week I joined a CAL group over on Ravelry.  The group is called Our Happy CAL Place and if you like a good crochet along, I recommend you head on over to Ravelry and check them out.  The group has many different crochet alongs throughout the year, in particular a monthly and weekly crochet along.  The group is very friendly and helpful with a wide variety of projects and themes each week / month.  Joining a group like this is a great way to use up some stash and this bookmark would make a great gift for a book lover...


This weeks CAL was this cute Granny Bookmark, which is a free Ravelry download by Deborah Ellis.  The pattern calls for no.10 thread and a 1.5 mm hook.  I love the way thread projects look, but for myself, I am not keen working with such a tiny hook.  So, not having any thread weight yarn in my stash. I went for this cotton fingering yarn by Drops.  I used a 2.5mm hook to make my version of the bookmark and also skipped rounds 2 & 3 (otherwise it would have been far too big).


I'm really happy with the way it turned out and the pattern was very easy to follow.  Why not head over to the Ravelry group and take a look at the other members projects.  They are all so different, it's lovely to see everyone's take on this pretty pattern.


I hope you enjoyed this post and would love to see you in Our Happy CAL Place.  Be sure to follow (in the sidebar) and subscribe, for more posts like this...

Take care
Catherine
x

You might also like...

Popcorn Flower Pincushion Pattern


This post contains Amazon affiliate links...

Saturday 30 March 2019

Easter Baby Blanket & Bonnet - Free Crochet Pattern

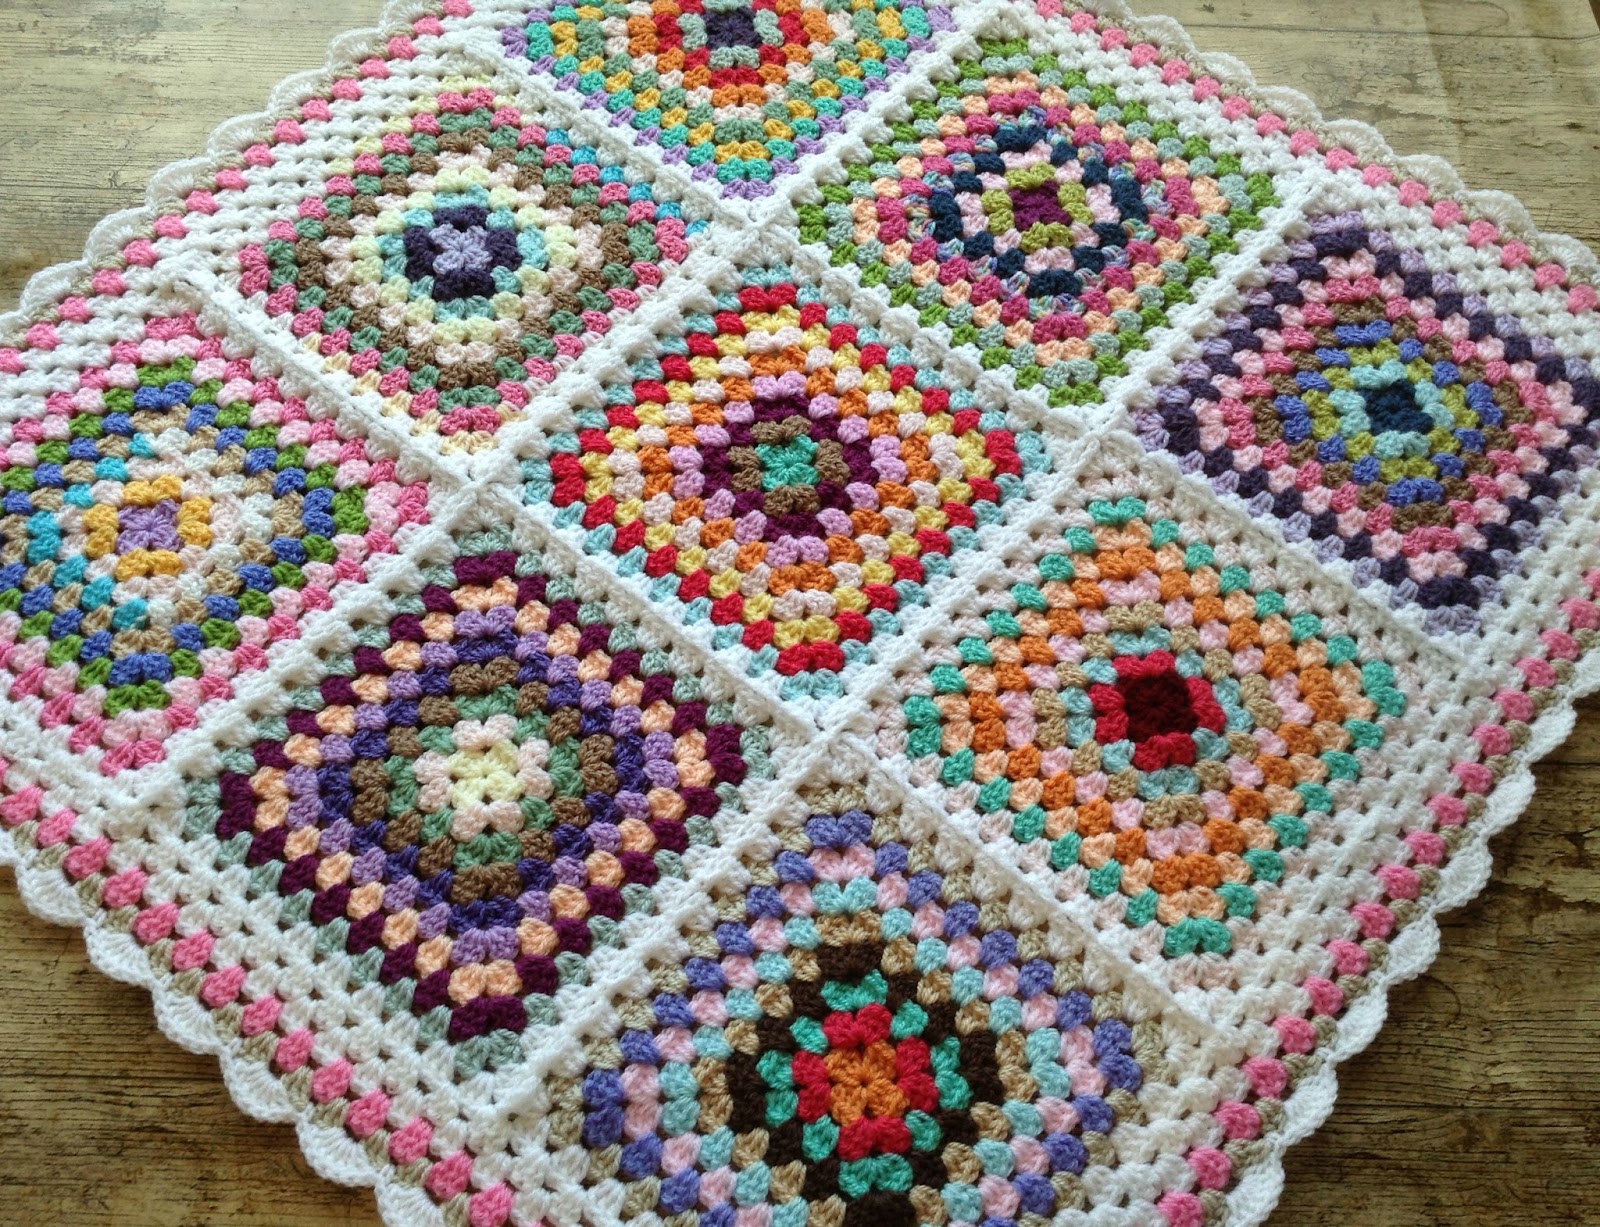
Make this pretty baby blanket in gorgeous spring colours.  This is such a simple pattern and is essentially just a giant granny square and comes with a super cute matching bonnet.  Any new arrival will look adorable wrapped up in it.  The blanket and bonnet only takes a few days to make so would make a great last minute gift for a new mum and uses lots of different colours making it a great stash busting project.


Granny Square Blanket


Materials

Darning needle
DK yarn in assorted colours.  I used yarns from my stash, but if you would like to recreate this I recommend using Stylecraft Special DK in the following colours (in order of use) - 

Wisteria, Sherbet, Citron, Parchment, Spring Green, Cream

Hook

4mm (G) hook

Size

Approx 65 x 65 cm

Abbreviations / Terms


US terms used throughout (UK terms)
sc - single crochet (double crochet)
dc - double crochet (treble crochet)
sl st - slip stitch
ch - chain
st - stitch

Notes:  Unless otherwise stated, fasten off and change colour each round following colour sequence stated above.  You will also be turning your work after each round, this keeps the corners nice and straight and adds a lovely texture to your blanket.

Foundation round ch4 and join with sl st to form ring.

Round 1 (Right side) ch 3, 2 dc into ring, ch 2, [ 3 dc into the ring, ch 2] 3 times, join with a sl st to the top of starting ch 3 and fasten off.  Turn.


Round 2 (Wrong side) join a new colour in any corner sp, ch 3, 2 dc into same sp, ch 2, 3 dc into same sp (corner formed), [ 3 dc into the next sp, ch 2, 3 dc into same sp] x3, join with a sl st to the top of the chain 3 and fasten off.  Turn.


Round 3  Join a new colour in any corner sp, chain 3, 2 dc in same sp, ch 2, 3 dc in same sp, [3 dc in next sp, 3 dc in next sp, ch 2, 3 dc in same sp] x 3, 3 dc in next sp, join with a sl st to the top of the chain 3 and fasten off.  Turn.


Continue in the same way changing colours each round and working 3dc, ch2, 3dc in each corner and 3dc into each sp, until you have repeated the colour sequence 5 times.  30 rounds in total.


Work a further 2 rounds in the same way, the 1st in Wisteria, the 2nd in Cream.

Round 33 With right side facing and Wisteria, join with sl st to any corner sp.  Ch1, 3sc in same sp, continue with sc in each st around and 3sc in each corner sp.  Fasten off.

Blanket border:  With right side facing and Cream follow tutorial for Cute Bobble Edging.


Easter Bonnet


Using colour sequence to match the blanket follow instructions for Granny Square Bonnet pattern.


Pin it for later...


Enjoy!
Catherine
x

You might like...


This post contains Amazon affiliate links...


Sunday 6 January 2019

Stash Busting - The Ron Weasley Blanket

Over the Christmas holidays we always binge watch the Harry Potter Movies.  Whilst watching Prisoner of Azkaban I happened to notice a gorgeous, scrappy, hand knitted blanket on Ron Weasley's bed (Molly Weasley I do so love all your makes).  I instantly knew this would make an awesome stash busting project and I had to start straight away.


A quick search found a brilliant guide by Jackie Wierzbick on her blog Penguineer's Purls and you can find the pattern page here...  She has painstakingly collected lots of photos of the blanket and produced them into a layout grid and a guide for each knitted block.  The squares are all knitted in garter stitch (which I love especially for "TV" knitting).  There is also a crochet version which you can find here...


So off I went to rummage through my stash.  I have a great deal of those huge 400g balls of aran yarn I bought "cos it's cheap" that never got used (because it wasn't soft enough for baby blankets).  I thought these would be ideal and I have so many other odds and ends that I am sure I can find something to match most of the colours.  I'm not too worried though as the blanket is meant to look scrappy, so if the colours aren't an exact match I will just use the closest yarn I can find.


Now anyone who knows me will know that I am not very keen on sewing. The thought of all those squares to sew together at the end appalled me.  I have made knitted shawls previously that had knitted on edges so thought there must be a way to knit the squares together as I went along.  With a bit of experimentation I have managed it (almost), the diagonal squares proved to be more of a conundrum than my non mathematical brain could handle, so I am knitting those squares separately and then stitching them on.  At lease there is not many of those to do, so this means that I will be able to join most of the squares as I go along.  I think I will write up a guide of how to do this if anyone is interested?

You can see the knitted together join here (nice and tidy)...


I can't tell you how enjoyable it is sitting watching Harry Potter movies with Little T and knitting along happily with my scrappy squares.  I can't wait to see the blanket progress and I am really pleased so far with how the join as you go approach is working.  I don't think my sewing would look anywhere near as neat.

As you can see the stitched join here (not so tidy).


I have almost 2 full rows of squares finished and am running out of Harry Potter movies to watch.


I will post again soon as the blanket progresses.  Do you have piles of stash languishing in boxes begging to be knitted or crocheted with?  Why not make a stash busting blanket yourself, I would love to see your photos...

See you soon
Catherine
x

This post contains affiliate links.

Saturday 3 November 2018

Lullaby Lodge Crochet & Fibre Arts Facebook Group

For all my lovely crochet and knitting friends, I have created a Facebook group for us to share all fibre related projects and patterns.  It is a place to socialise and chat about our love of crochet and other fibre arts and to share and find new patterns and blogs etc.  I hope you will all pop over and join, I would love to see what projects you are working on and to share hints and tips etc.


Back soon...

Catherine
x

Thursday 15 February 2018

Stash Busting Challenge - Week 2

Hi everyone, sorry this post is a little late.  We have been super busy with half term activities, days out and visiting family.  

So continuing with the stash busting, more granny squares, large ones this time.  For this blanket I have used Stylecraft Special dk in shades of Pale Rose, Mocha, Parchment, Duck Egg, Soft Peach and Cream.


 I joined the squares with single crochet from the back in Pale Rose, which leaves a lovely dotted line of colour on the front of the blanket.


 A simple border of pretty shells to finish it off.


Ta Da! blanket three finished...


 ...looking for a new home.


I loved the way the pink and duck egg blanket turned out and wanted to make something similar for a boy.  So I exchanged the pink and peach for Copper and Stone Nepp in Life dk.


For this blanket I used a round of bobble edging in Duck Egg to finish it off.


Ta Da! Blanket four finished.


Now available in my Etsy store... 


The stash busting will continue next week...
By for now
Catherine
x

Sunday 4 February 2018

Stash Busting Challenge - Week 1

Well hello everyone!  This week has been all about grannies.  I have managed to burn through a substantial amount of my stash already and have two finished blankets to show you.  I have also made a start on two other blankets that will hopefully be ready to show you next week.  So with out further ado, here's what I've been up to this week...

For my first blanket I wanted some very girly.  I first rummaged through my stash finding all the pinks and purples and any other shades that were colourful but nothing too dark.  I even used up some of those dodgy variegated yarns that I never could find a project for.  You know, the ones you buy on a whim, sure that you will find something amazing to make with them; but in reality they sit in a box under the bed never to see the light of day again.

My first square...


...led to another...


 ...and another...


...and another.  Making granny squares is very addictive.


Very soon I had a whole stack of them.  Enough to make a small baby blanket.


I chose white to join the squares together and used the continuous join as you go method.  I find this method saves you so much time and with the bonus of hardly any ends to weave in.  You can find a great tutorial for this over at The Patchwork Heart.


For the border I kept it simple with a couple of rounds of granny clusters and finished it off with a round of pretty white shells.


Ta Da! Project one from my stash busting challenge finished. 


All this blanket needs now is a new home...


We have a very similar story for my next blanket.  This time I wanted to use up some of my brighter colours.


I love working with bright colours, they always make me feel so cheerful.


The squares soon added up to... 


  ...a whole pile...


 ... ready for joining.


Once again I used the continuous join as you go method, choosing soft Slate grey to really make the bright colours stand out.  A row of bobble edging adds the finishing touch.


 ...and in no time at all, the grannies became a lovely squishy blanket.  Just waiting for someone to snuggle up in.  Of course little T just had to test it out.


Ta Da!  Blanket number two finished


This blanket didn't stay in my shop very long and has already been shipped off to its new home.


Come back and see me next week when I have more stash busting exploits to share with you.
By for now
Catherine
x

Don't forget to head over to my Facebook page for daily posts!