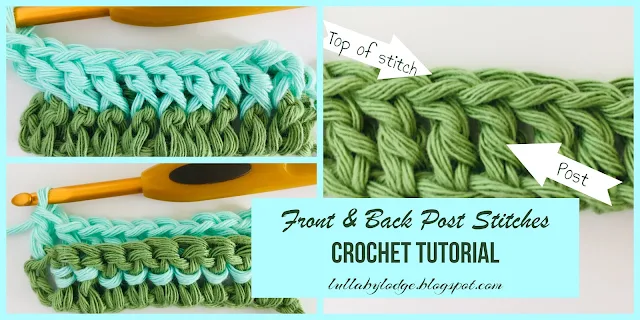
Learn how to crochet front post & back post stitches, in this step by step tutorial by Lullaby Lodge...
I have a pattern coming out soon that utilises front post stitches, so I thought this would be a good time to do a tutorial to show you exactly how to do them. Post stitches give a really unique look to your work and are much easier to do than they sound.
Front & Back Post Stitches
Materials
Yarn
Darning needle
Hook
Use a hook recommended on your yarn ball band or required by your patternAbbreviations US Terms (UK Conversion)
dc - double crochet (treble crochet)
fpdc - front post double crochet (front post treble crochet)
bpdc - back post double crochet (back post treble crochet)
ch - chain
sl st - slip stitch
st(s) - stitch(s)
yo - yarn over
Usually when we crochet we work into the top of the stitch, but we can create exciting new effects in our work, simply by placing our stitches in a different place. Front and back post stitches are worked in exactly the same way, the only difference is where you place your stitch. Post stitches are worked around the post instead of into the top of the stitch.
Front Post Double Crochet
Make a small swatch to practice on. Ch 13, dc in 3rd ch from hook and each ch across. Turn. (10dc)
Ch 3 to start your row and then insert your hook, from front to back, around the post of the next st.
Finish off your dc stitch as normal - yo and pull up a loop,
yo and pull through 2 loops,
yo and pull through remaining 2 loops.
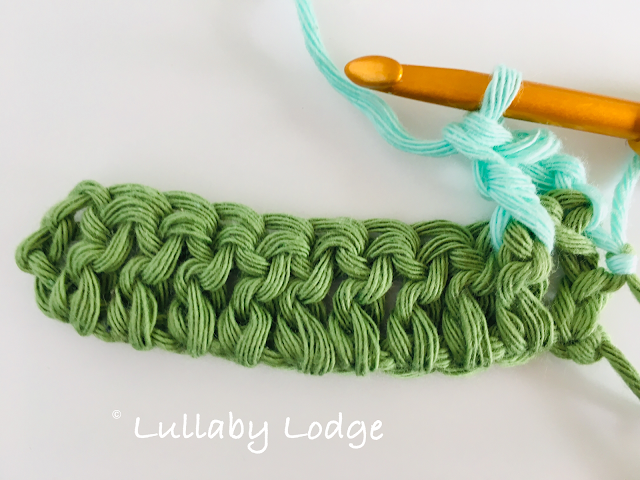
Continue with a fpdc in each st, ending with a dc in the top of your ch3.
This is how it looks from the other side...
Back Post Double Crochet
Make a small swatch to practice on. Ch13, dc in 3rd ch from hook and each ch across. Turn. (10dc)
Ch 3 to start your row and then insert your hook, from back to front, around the post of the next st.
Finish off your dc stitch as normal - yo and pull up a loop,
yo and pull through 2 loops,
yo and pull through remaining 2 loops.
Continue with a bpdc in each st, ending with a dc in the top of your ch3.
This is how it looks on the other side...
Now you know how to make front and back post double crochets. The principle is the same for other crochet stitches, you can work single crochets, half double crochets and treble crochets around the post in the same way.
Pin it for later...
That's it for this week's tutorial, I hope you found it helpful. Don't forget to follow (in the sidebar) and subscribe for more posts like this. I usually post 3 or 4 times a week, so make sure you don't miss out.
Happy hooking!
Catherine
x
Related posts...
This post contains Amazon affiliate links...


Just what I needed: I tend to mix these two up (don't ask me how it's possible as the difference is so obvious, but I do) when I have to write a pattern...
ReplyDeleteYes they can be a bit tricky at first...
Delete