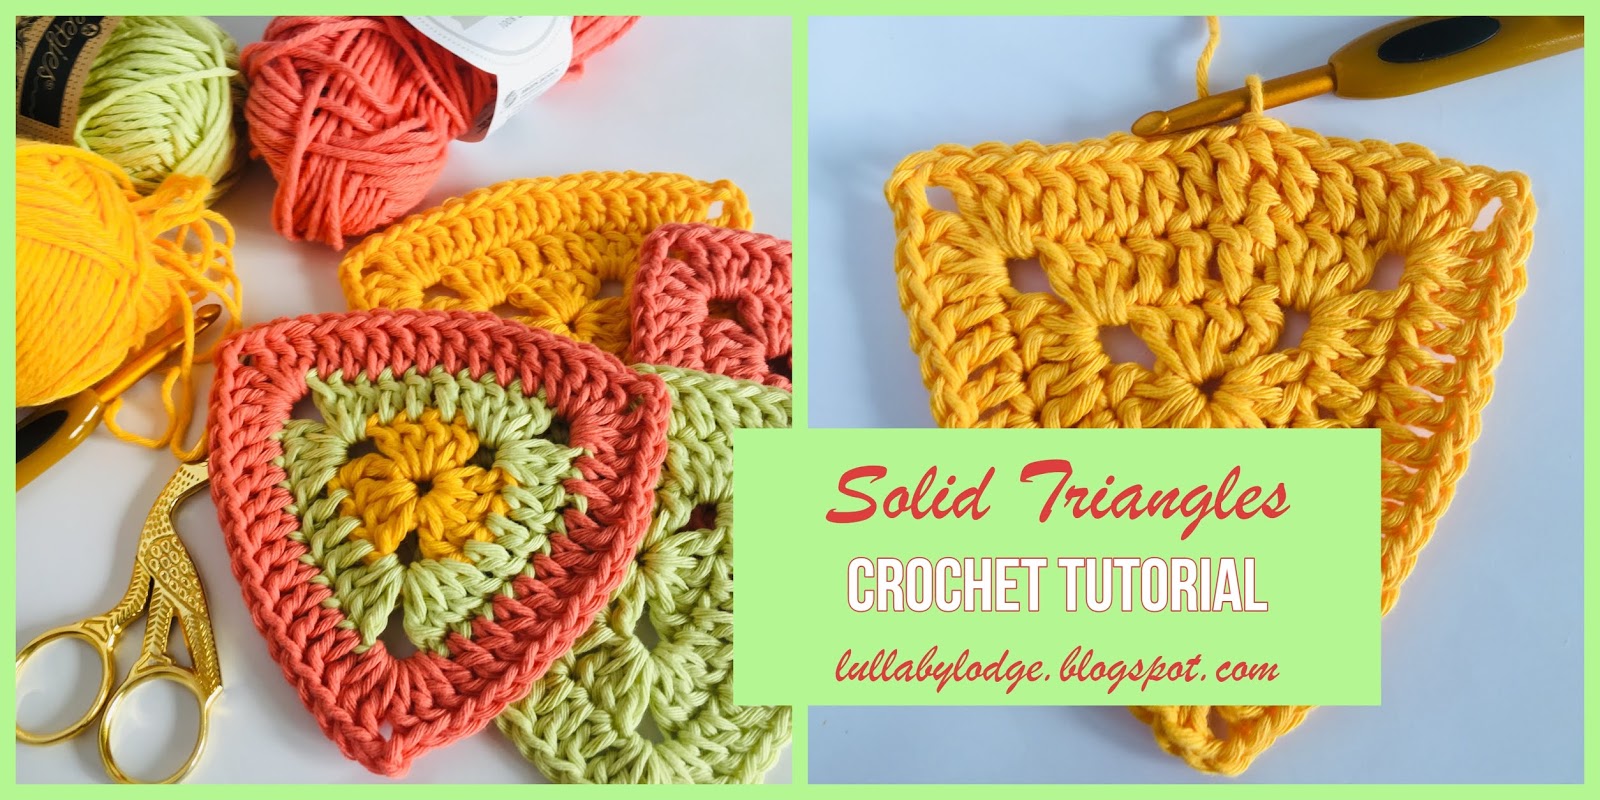
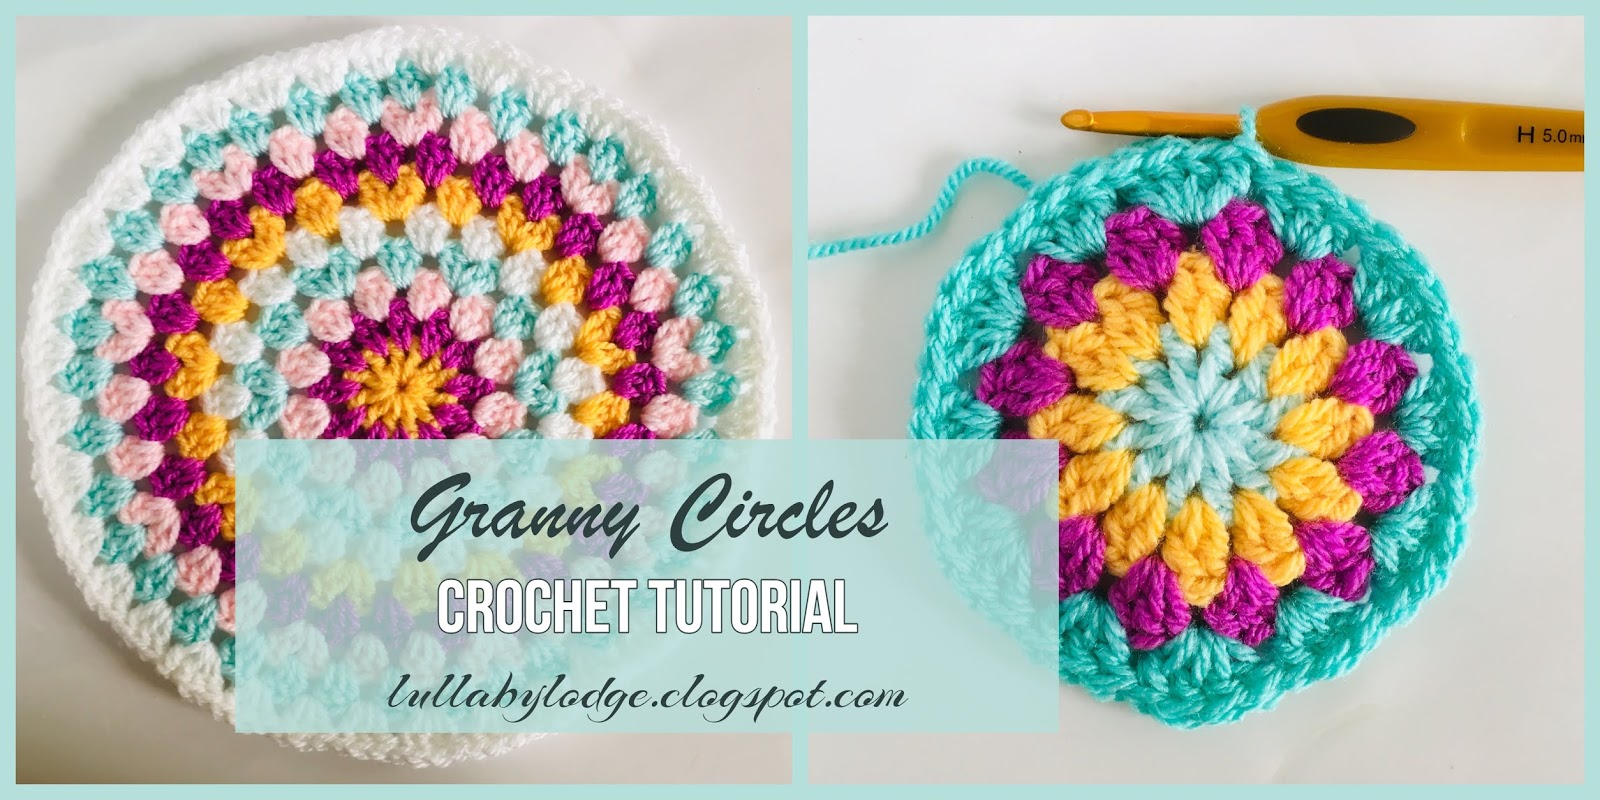
Granny Flower Hexagons
Materials
Yarn
Darning needle
Hook
Use a hook recommended on your yarn ball bandAbbreviations / Terms
US terms are used through out (UK terms)
dc - double crochet (treble crochet)
ch - chain
sl st - slip stitch
st(s) - stitch(s)
sp - space
sp - space
Other notes: Fasten off and change colour after each round. Join a new colour with a sl st in any sp. If you wish to make these in a solid colour simply sl st into the next ch sp to start the new round.
I used Drops Paris and Scheepjes Cahlista cotton yarn with a 5 mm (H) hook to make my hexagons, but you can use any yarn you like, just use the hook size recommended on your yarn ball band.
I used Drops Paris and Scheepjes Cahlista cotton yarn with a 5 mm (H) hook to make my hexagons, but you can use any yarn you like, just use the hook size recommended on your yarn ball band.
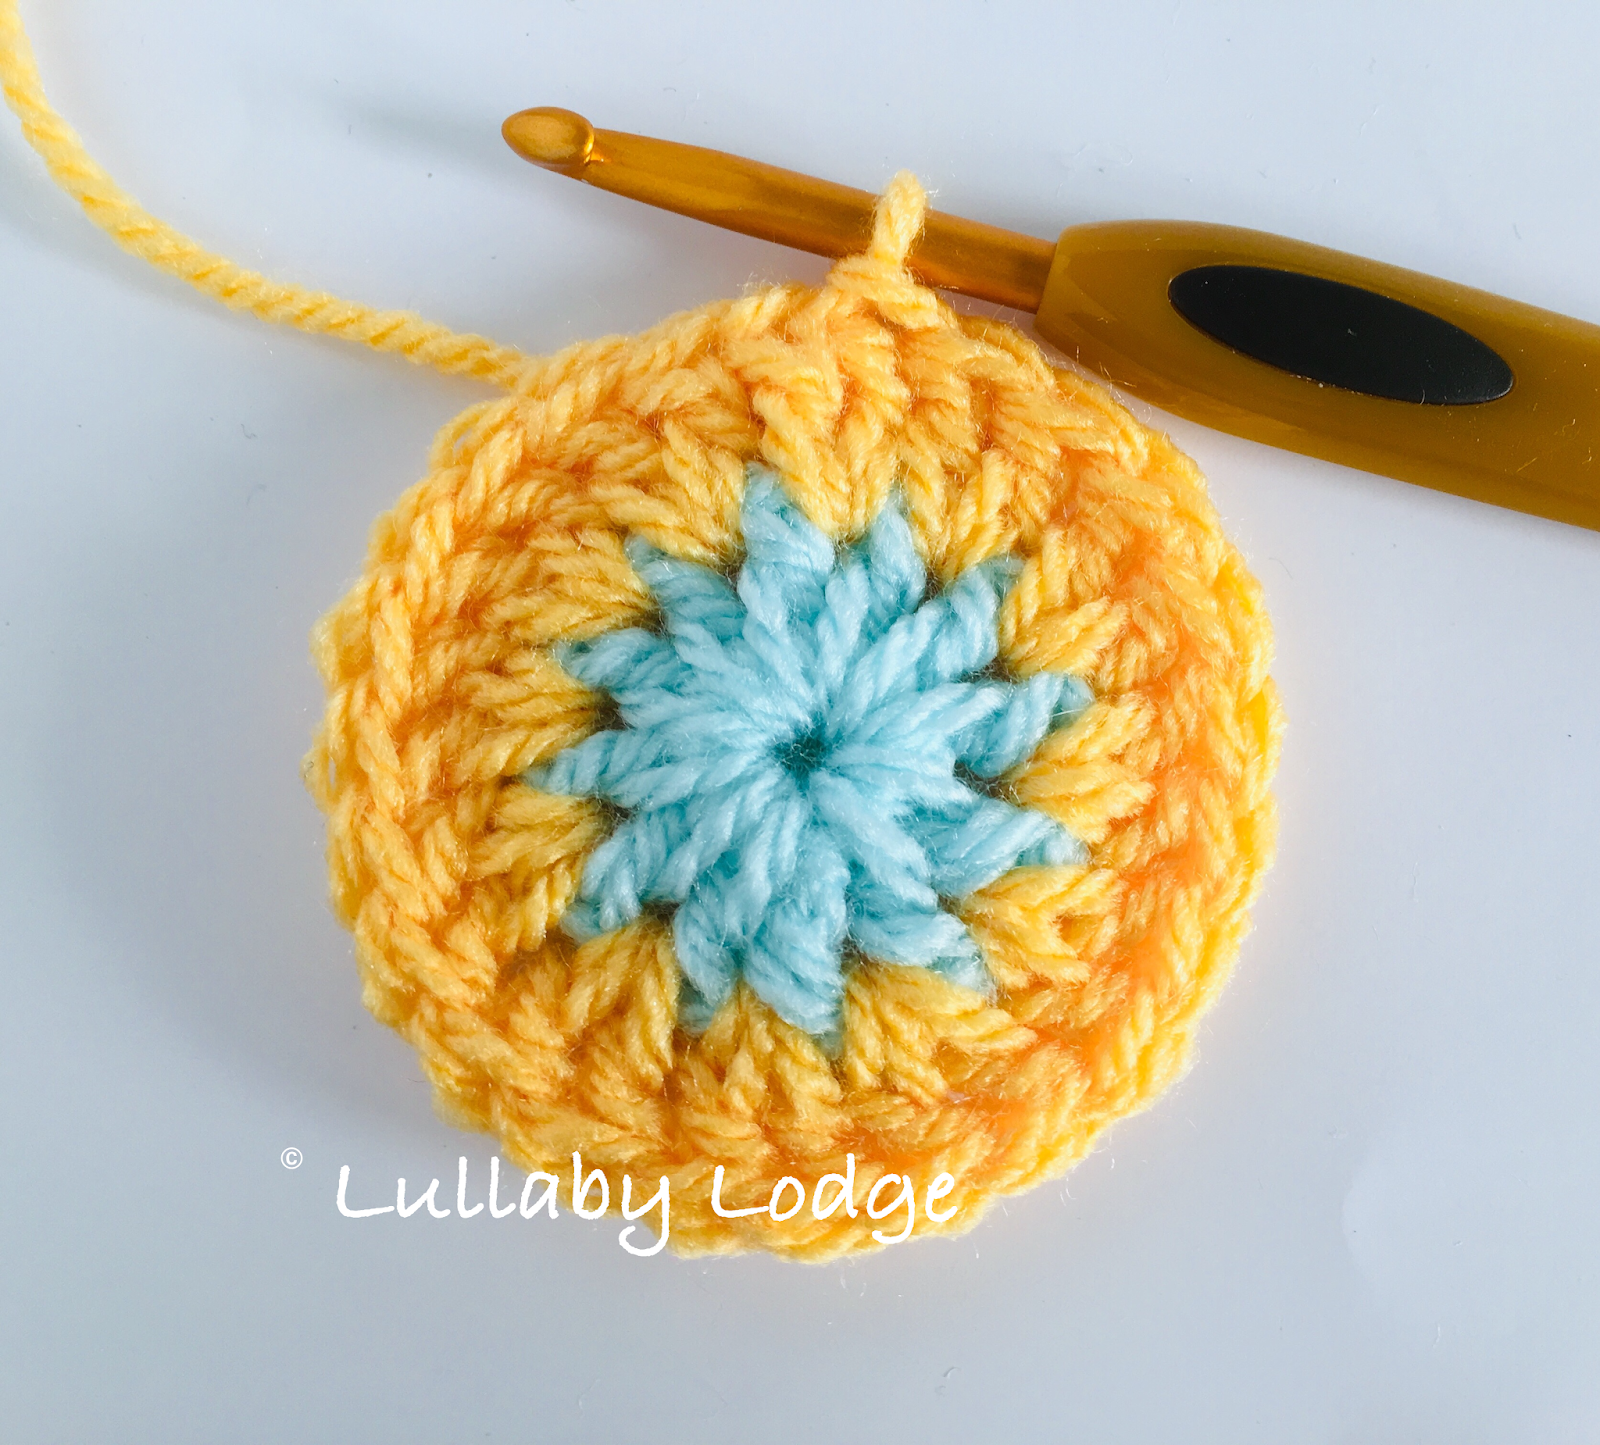
Ch4 and join with a sl st to form a ring
Round 1 Ch3 (counts as dc), 11dc into ring. (12dc)

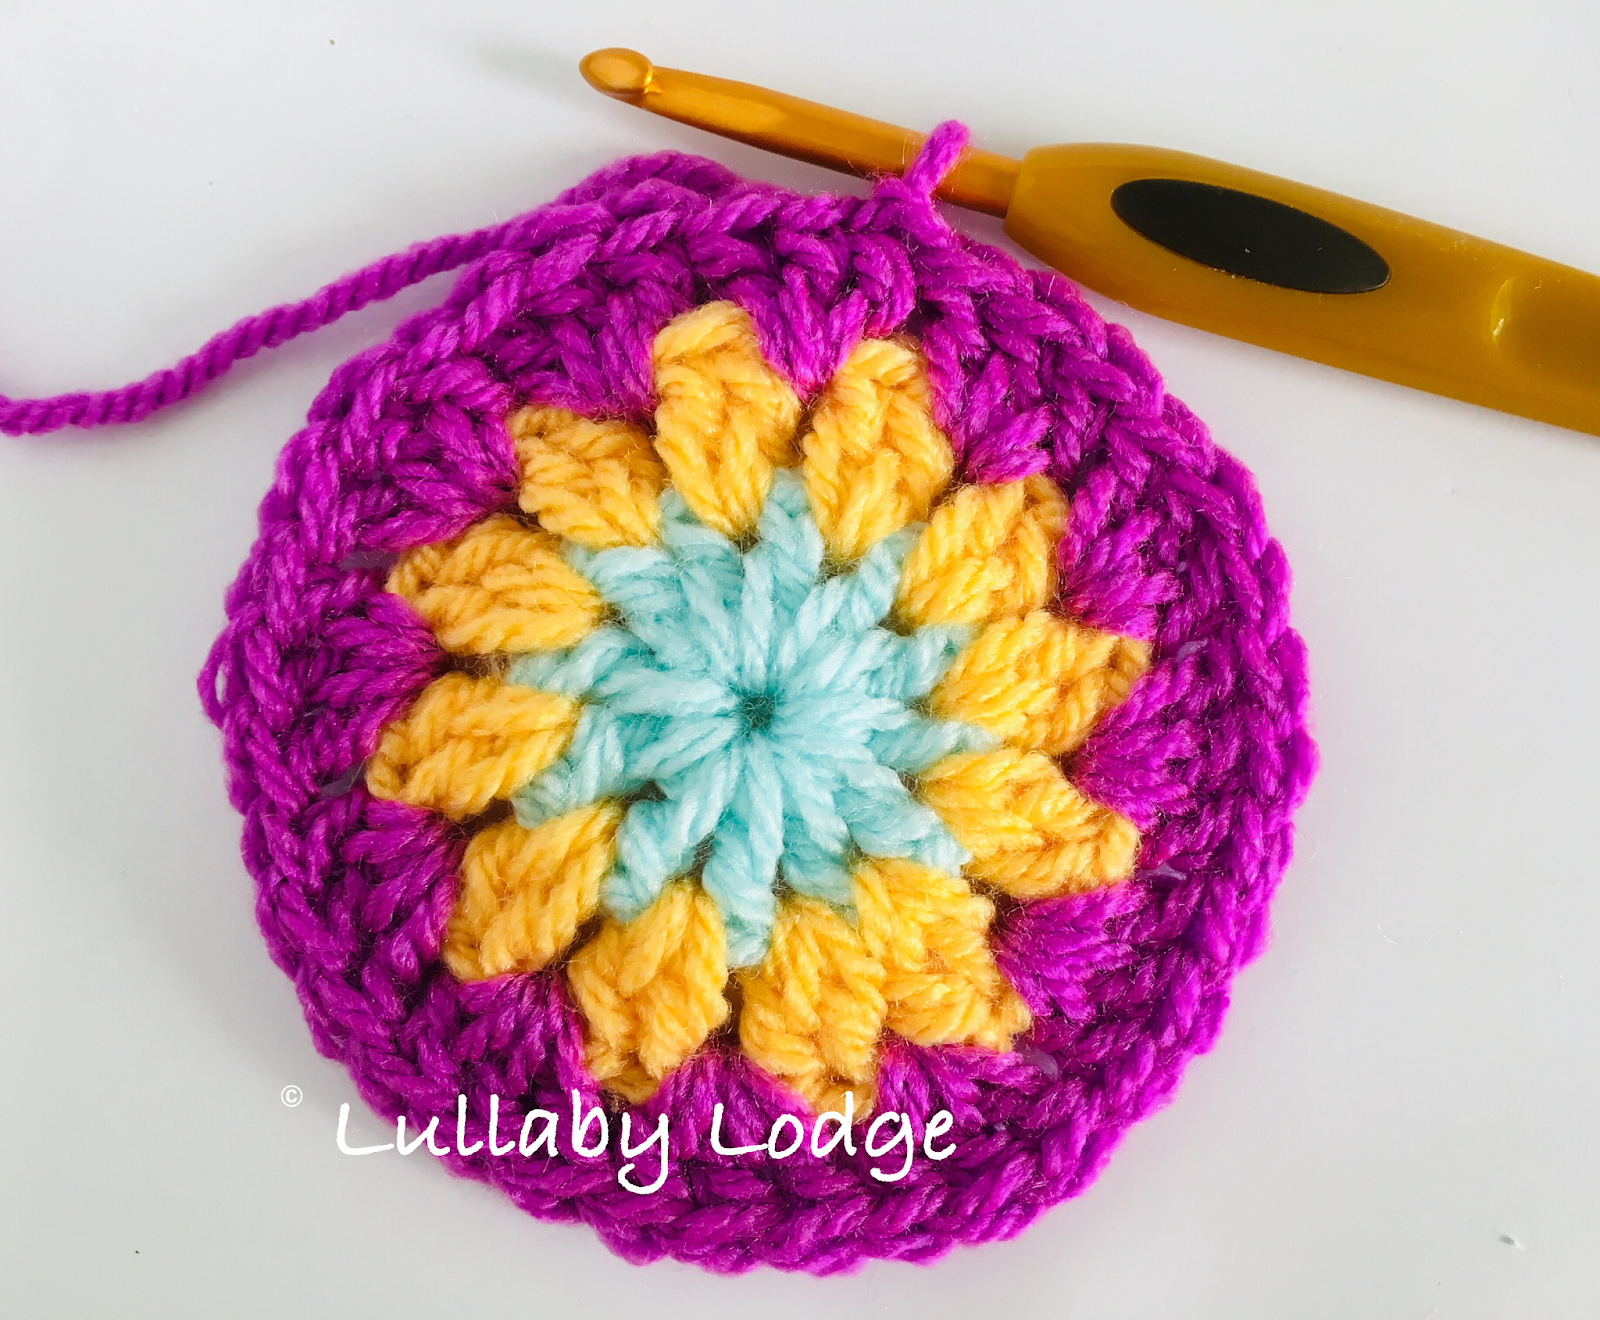
Round 2 Join new colour in sp between sts. Ch3, dc in same sp, 2dc in each sp around, join with sl st to top ch3. (24dc)

Round 3 Join new colour in sp between groups of sts. Ch3, 2dc in same sp, 3dc in each sp around, join with sl st to top ch3. (36dc)

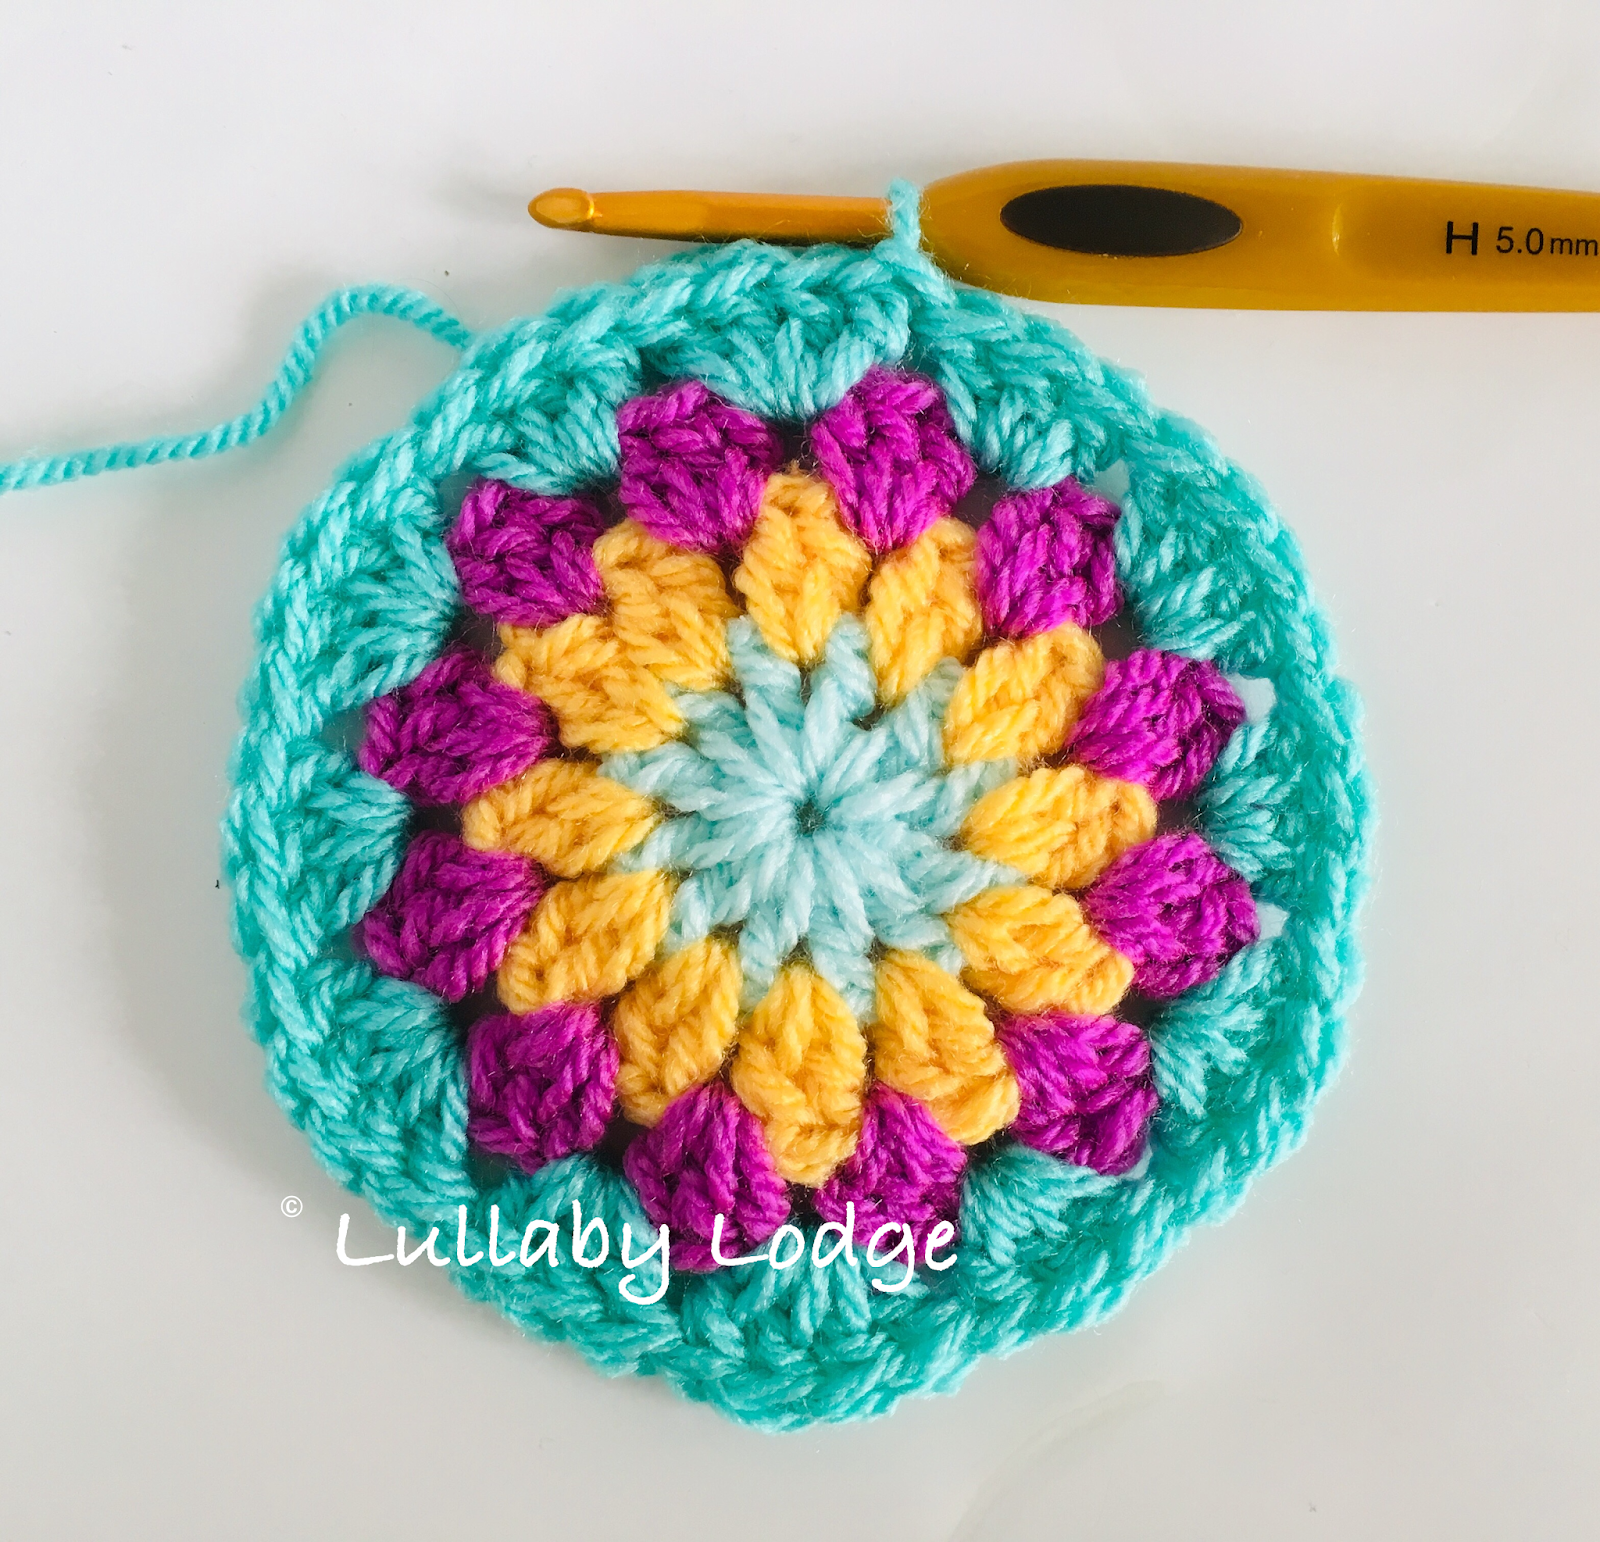
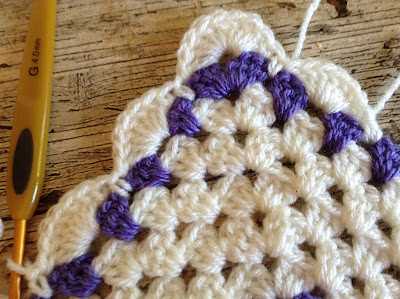
Round 4 Join new colour in any sp. Ch3, 2dc in same sp, [3dc, ch2, 3dc in next sp, 3dc in next sp] repeat around ending with 3dc, ch2, 3dc in last sp, join with sl st to top ch3. (54dc)

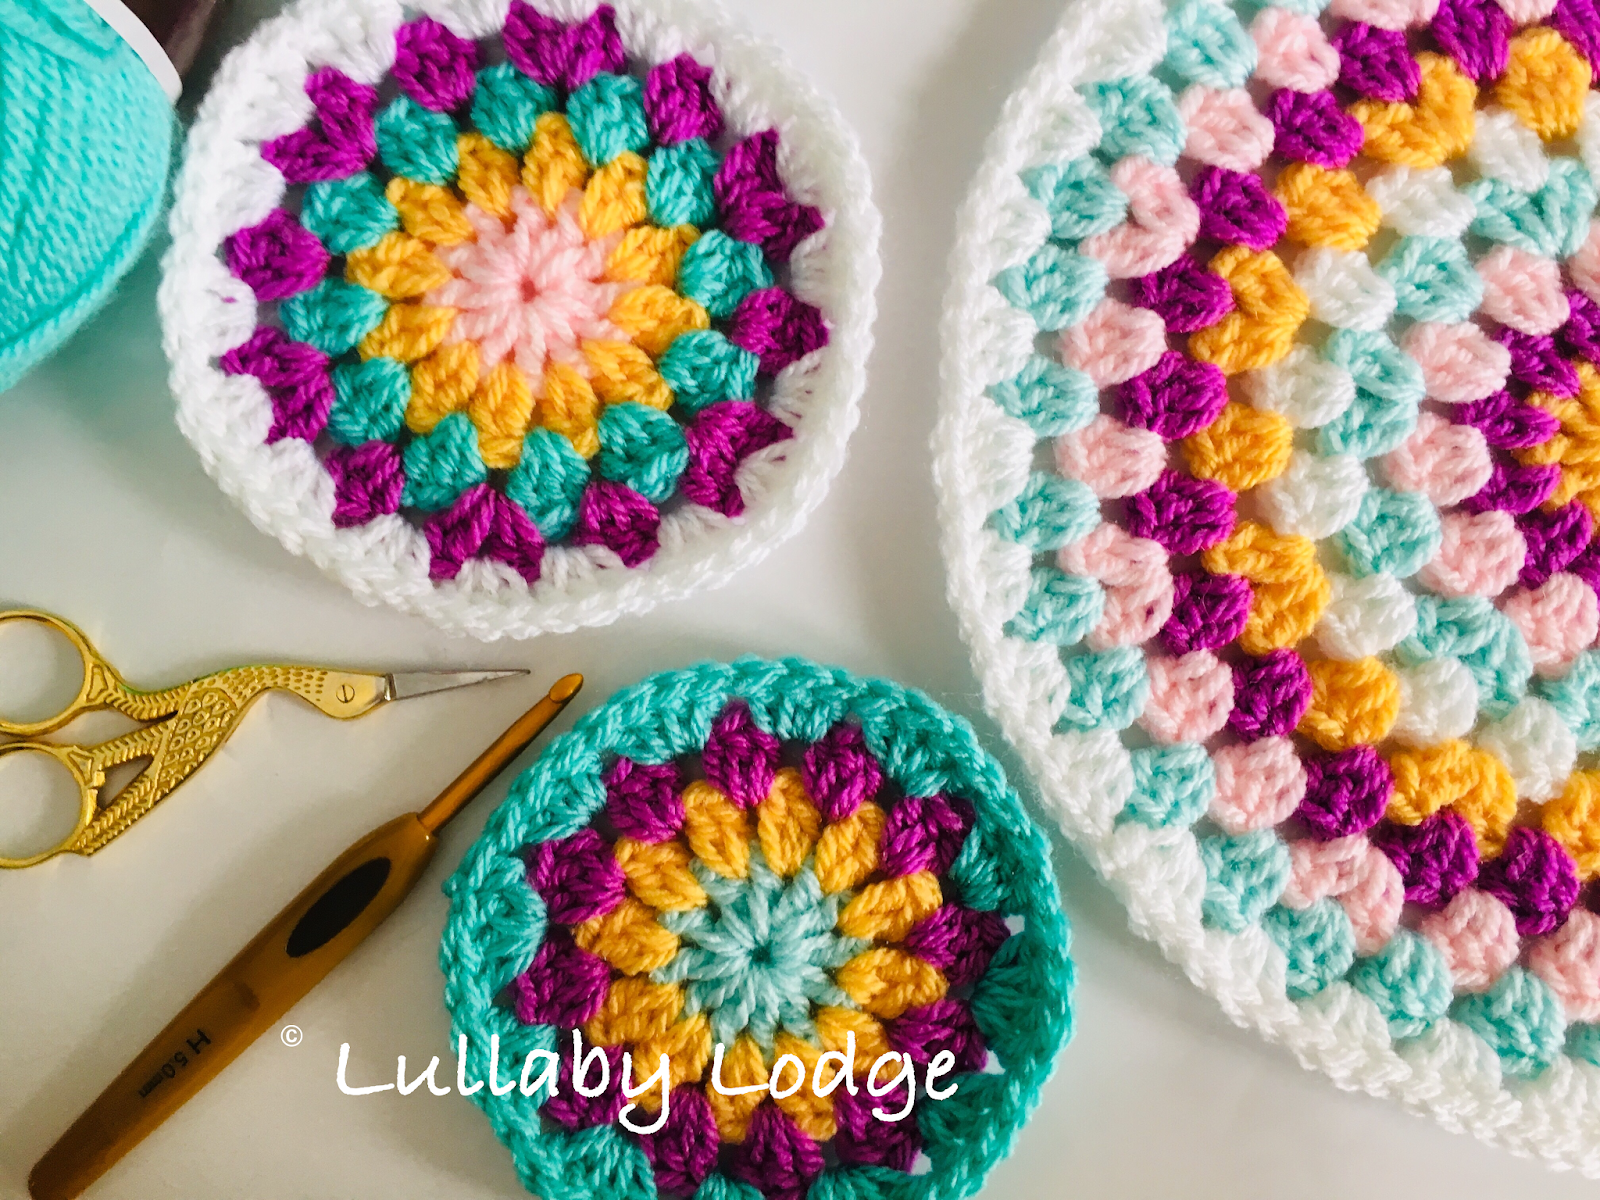
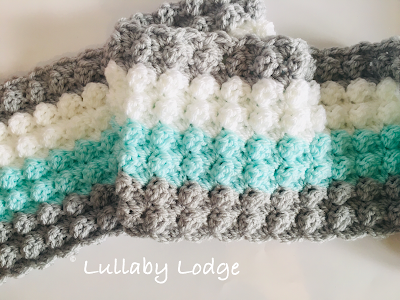
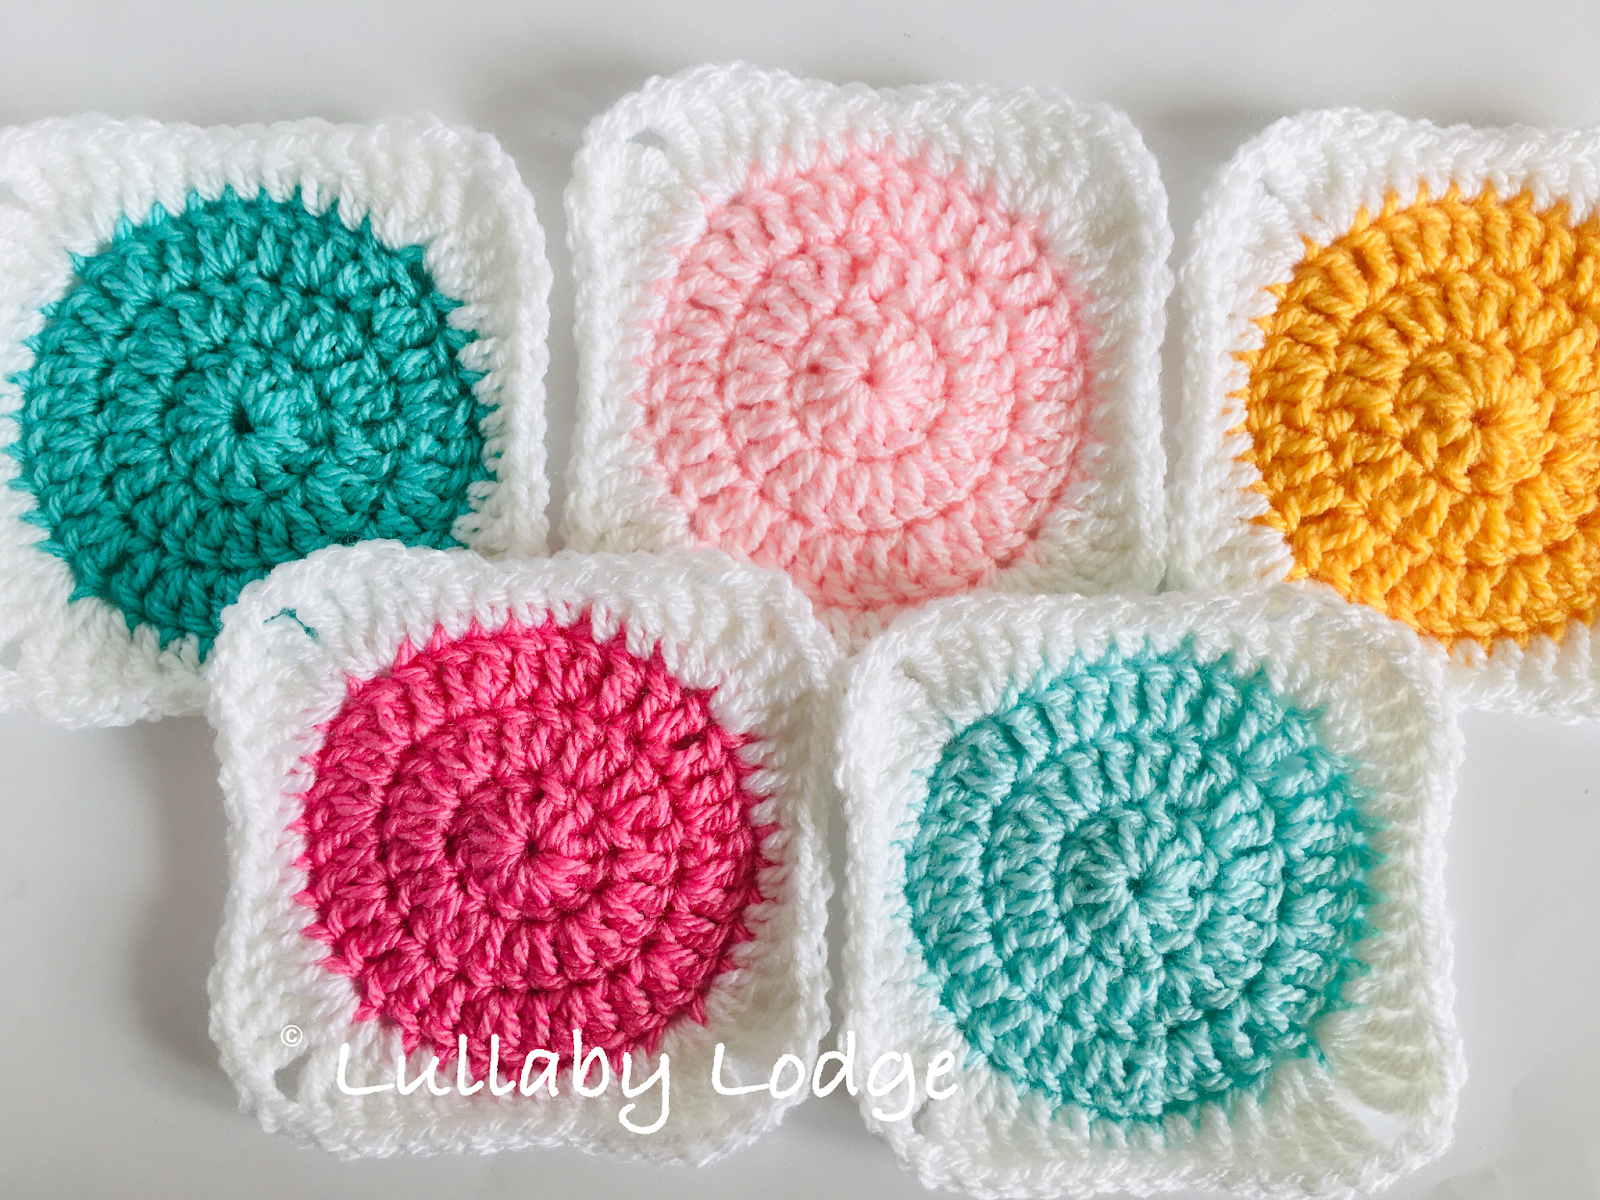
I really loved making these granny flower hexagons. Playing with different colours always gives me that happy feeling...

I think I might turn these into a placemat or some coasters.

Pin it for later...

What would you make with yours? Let me know in the comments below and don't forget to follow (in the sidebar) and subscribe for more posts like this...
Take care
Catherine
x
Related posts...


This post contains Amazon affiliate links...